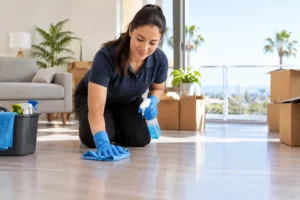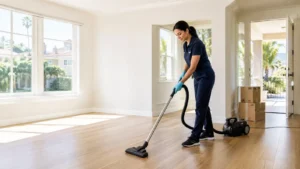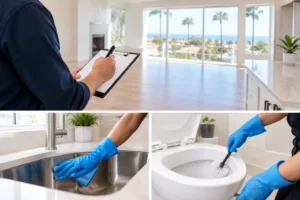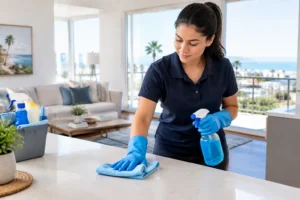
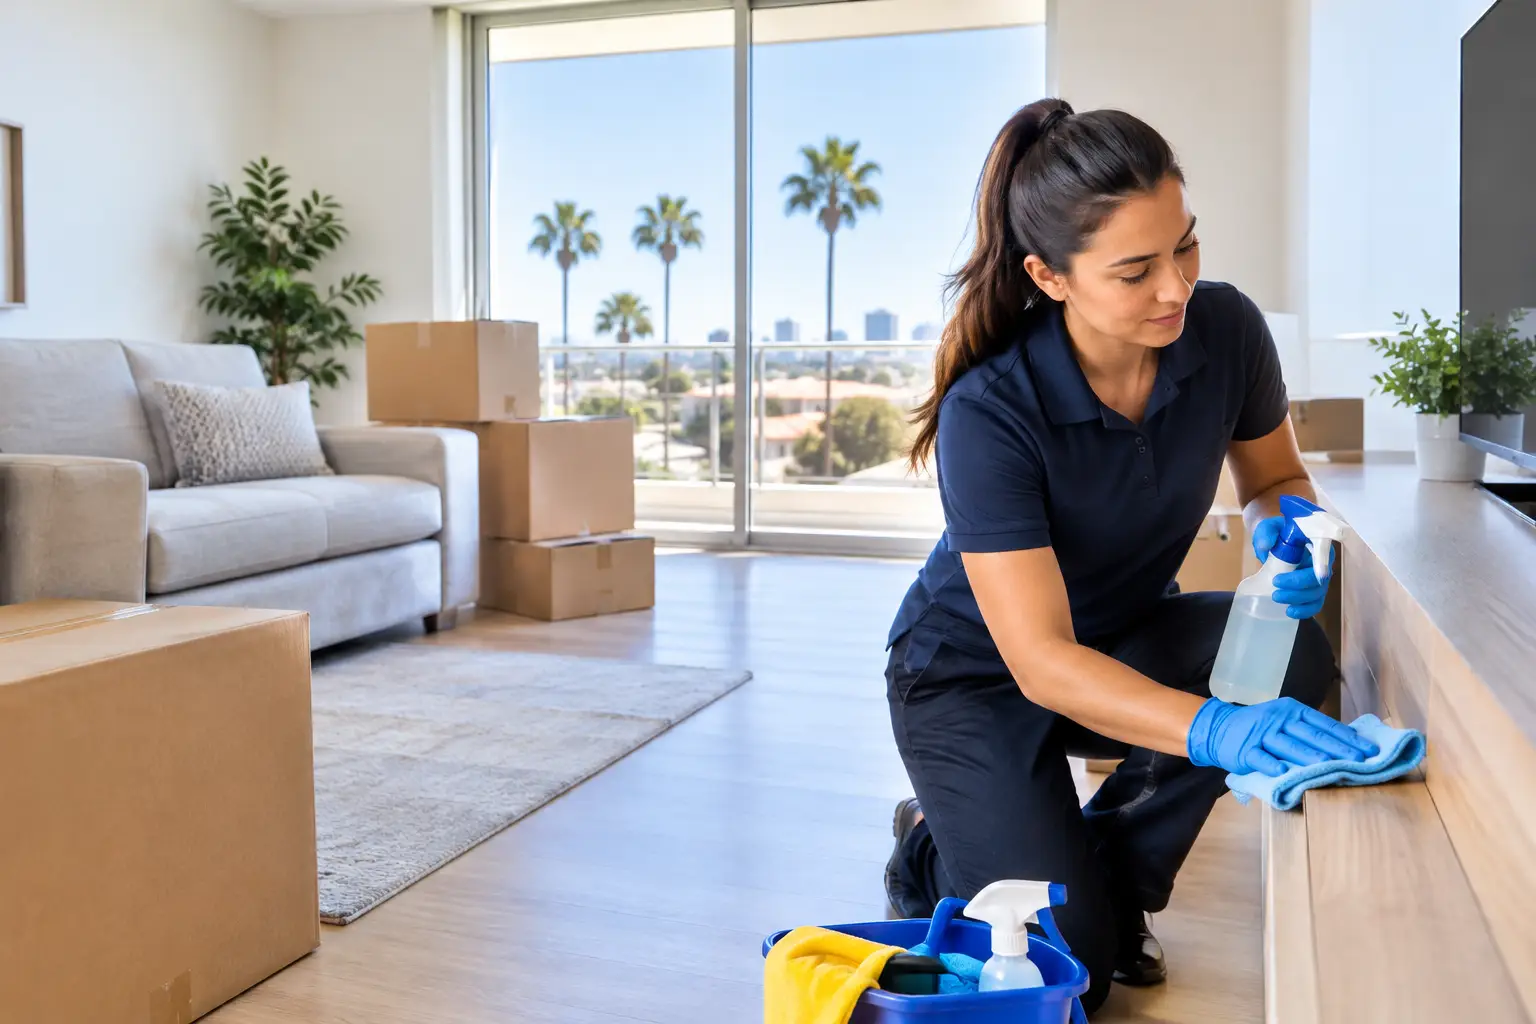
An Irvine rental cleaning guide should make one thing clear: move-out cleaning works best when you clean methodically, document the condition, and focus on the areas that collect the most residue. You do not need to scrub every surface endlessly, but you do need to leave the home clean, empty, and ready for a final walkthrough.
For most renters, the best approach is to handle everyday cleaning yourself, then consider professional help when time is short, the home needs a deeper reset, or the kitchen, bathrooms, floors, and appliances require more attention than you can realistically give them before moving day.
Contents
- Start with your lease and walkthrough plan
- Clean in the right order
- Focus on high-attention rental areas
- Protect finishes while you clean
- Know when to request professional help
Start With Your Lease and Walkthrough Plan
Before buying supplies or opening a cleaner, review your lease, move-in checklist, and any cleaning instructions from your property manager. Some rentals have specific expectations for appliances, carpet care, window coverings, or outdoor spaces. A lease may also identify items you are responsible for removing, such as nails, adhesive hooks, or personal belongings in a storage area.
Take photos and short videos before you begin. Capture existing marks, worn flooring, chipped finishes, and any issues you previously reported. Then take a second set after cleaning. This is not legal advice, and photos do not replace communication with your landlord or property manager, but clear records can make the final walkthrough less confusing.
Give yourself more time than you think you need. Cleaning an empty home is usually easier, but it can reveal dust behind furniture, grease inside cabinets, and buildup around fixtures that was not obvious during daily life. If possible, schedule cleaning after your belongings are out and before the key handoff.
Clean From High to Low, Dry to Wet
A simple sequence prevents you from redoing work. Begin with dry tasks at the highest points in each room, then move downward and finish with floors. Dusting ceiling fans after mopping, for example, creates more work. Cleaning the shower before wiping down the bathroom vanity can leave splatter on a surface you already finished.
Start by removing all trash, food, personal items, shelf liners, and items stored in cabinets. Check drawers, closets, medicine cabinets, the refrigerator, laundry area, patio, and garage if those spaces are part of your rental. Emptying the home first also gives you room to see what needs attention.
Next, dust vents, blinds, baseboards, window sills, doors, light switches, shelves, and cabinet interiors. Use a vacuum with appropriate attachments for corners and edges, especially around closets and under appliances. Then clean counters, fixtures, appliances, tubs, showers, and toilets. Floors should be the last major task.
Work one room at a time when possible. It is easier to keep track of progress, and you are less likely to overlook a cabinet or leave cleaning products behind. Keep a small bag for used sponges, empty bottles, and trash so you can leave the space truly empty when you are done.
Give the Kitchen Extra Time
The kitchen often takes longer than expected because grease and food residue settle gradually. Focus on the details that are easy to miss during routine cleaning: cabinet shelves, drawer interiors, door fronts near handles, the backsplash, and the area around the range.
For the refrigerator, remove all food and wipe shelves, bins, door seals, and the exterior. Follow the manufacturer instructions before removing shelves or using a product on stainless steel. Avoid abrasive pads on finished appliance surfaces, as they can leave visible scratches.
The oven and cooktop deserve a separate block of time. Check the appliance manual or property instructions before using an oven cleaner, especially on self-cleaning ovens or specialty finishes. Do not use harsh products on a warm surface, and make sure the area is ventilated. For a glass cooktop, use products and tools designed for that material rather than a scouring pad.
Do not forget the dishwasher filter area, microwave interior, hood exterior, and the floor beside and beneath movable appliances. If you cannot safely pull an appliance forward, clean the reachable edges and let your property manager know if there is visible debris or damage behind it.
Reset Bathrooms Without Damaging Surfaces
Bathrooms need close attention because residue builds up on fixtures, tile, shower doors, and around the toilet base. Start by removing hair and dry debris, then apply the appropriate product according to its label directions. Letting a cleaner sit for the recommended time can reduce the amount of aggressive scrubbing needed.
Use separate cloths or sponges for the toilet and for counters, sinks, tubs, and showers. Wipe cabinet interiors and drawers, clean mirrors with a streak-conscious technique, and check towel bars, light switches, exhaust fan covers, and the ledges around the tub.
Material matters here. Natural stone, specialty tile, and some grout types can be damaged by acidic or abrasive products. Follow manufacturer guidance when it is available, test a product in a small hidden area first, and never mix cleaning chemicals. In particular, do not combine bleach with vinegar, ammonia, or other cleaners.
If you see signs of a larger issue, such as suspected mold growth, water damage, or a leak, notify the property manager rather than trying to treat it as a standard cleaning task.
Finish Bedrooms, Living Areas, and Floors
In bedrooms and living areas, clean closet shelves, rods, tracks, baseboards, window sills, blinds, doors, and switch plates. Vacuum carpet edges carefully. For hard floors, remove dust and grit before using a damp mop, because loose debris can scratch some surfaces.
Use only a floor cleaner suitable for the material. Too much water can be a problem for some laminate, wood, and vinyl flooring, while the wrong product can leave residue that looks dull or sticky after it dries. If your lease requires carpet cleaning, confirm the requirement and any preferred process with the property manager before arranging service.
Look at the rental from the doorway of each room. This final visual check often catches smudges on doors, missed corners, fingerprints on glass, or a forgotten item in a closet. Open every cabinet and drawer once more before you leave.
When Professional Rental Cleaning Makes Sense
A professional move-out cleaning can be a practical choice when your moving schedule is tight, the rental is large, or the cleaning scope has grown beyond a normal weekend task. It can also help when you need a clear plan for kitchens, bathrooms, interior cabinets, baseboards, and final floor care without dividing your attention between cleaning and the move itself.
At SRS Cleaning Services, we confirm the cleaning scope before the appointment so you can explain the condition of the home, the rooms that need the most attention, and any access details. That is especially useful for renters coordinating movers, key returns, and a final walkthrough on the same week.
Professional cleaning does not replace your responsibility to remove belongings, report damage, or follow lease instructions. It is simply a way to reclaim time and leave the hands-on cleaning to a team when the workload calls for it.
If your move-out list is getting longer by the hour, request a quote with the size of the rental, your preferred timing, and the areas you want addressed. A cleaner home can make the last stretch of moving feel much lighter.