
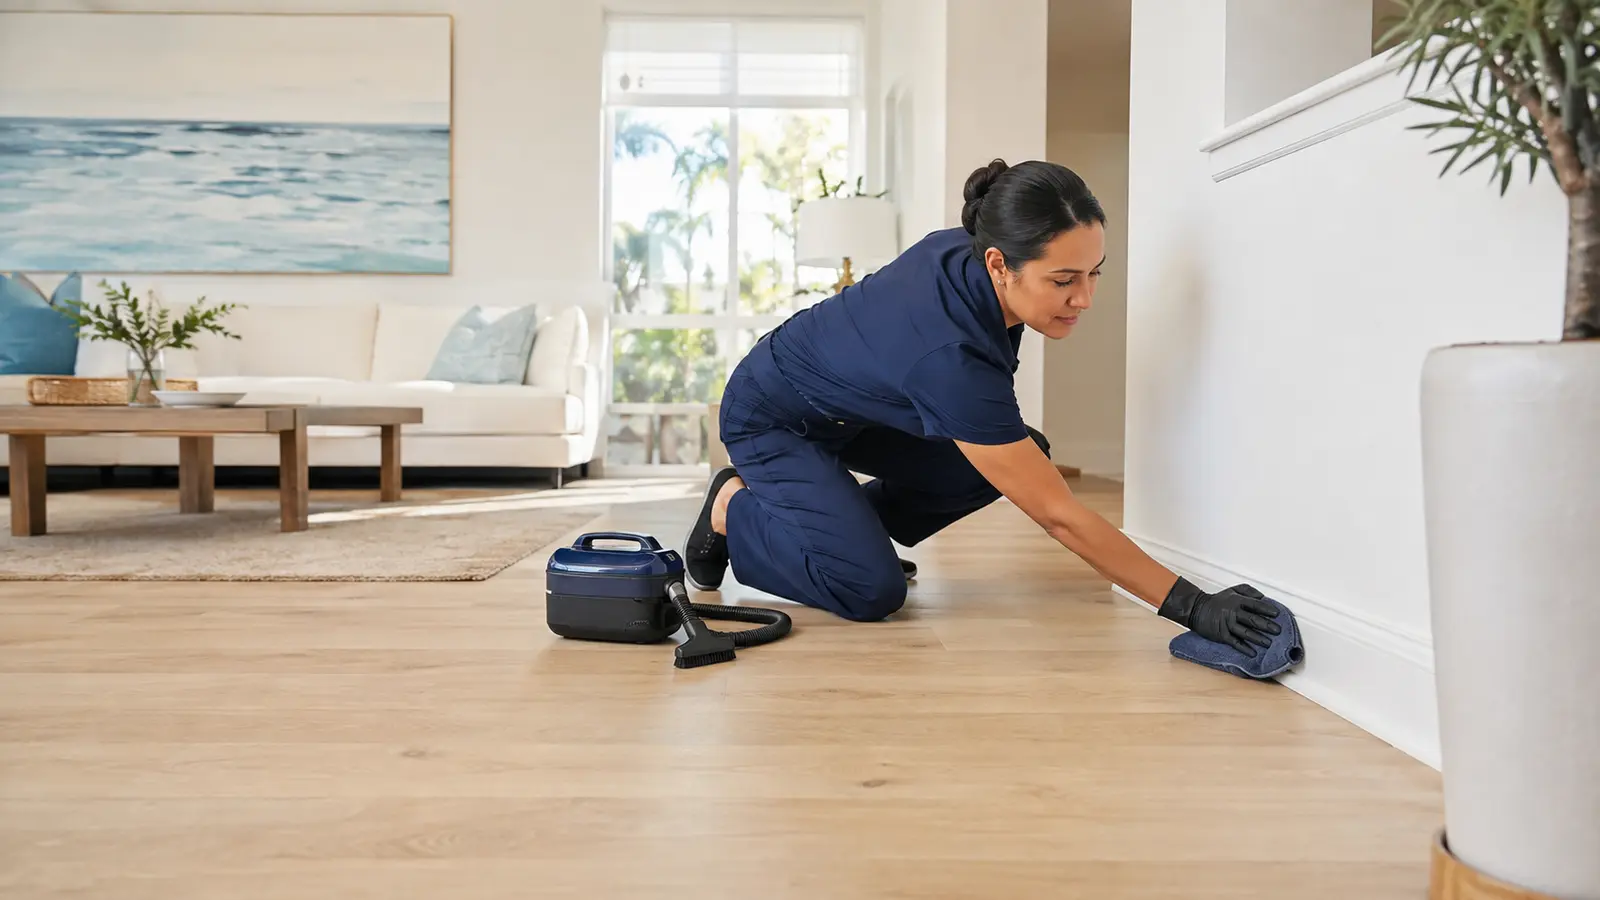
Baseboards collect the evidence of everyday life: dust along the top edge, hair near the floor, scuffs in hallways, and sticky marks around kitchens or entryways. The frustrating part is that a rushed wet wipe can turn that loose soil into gray streaks. Learning how to clean baseboards in the right order makes the work faster, neater, and gentler on the finish.
The simplest method is dry first, damp second, and dry again. Work in short sections, keep your tools clean, and use only as much moisture as the surface needs. This guide explains that process, how to handle stubborn marks, and what to change for painted, wood, and composite trim.
Baseboard Cleaning: The Quick Answer
Vacuum or dust the baseboards before introducing water. Then wipe a small section with a soft cloth that is damp rather than wet. Use plain warm water first; if the finish allows it and soil remains, follow the paint or trim manufacturer’s care guidance for a mild cleaning product. Wipe away residue with a second clean cloth and dry the trim promptly.
This order matters. Dry removal captures loose particles instead of spreading them across the paint. Small sections keep the cloth from becoming overloaded, while prompt drying helps protect joints, chipped areas, and moisture-sensitive trim.
What You Need
- A vacuum with a soft brush attachment or a clean microfiber duster
- Two or more soft microfiber cloths
- A small bowl or bucket of warm water
- A mild cleaner approved for the specific finish, if plain water is not enough
- A soft detail brush for grooves and corners
- A towel to protect the floor and a dry cloth for the final pass
Skip scouring pads, stiff brushes, and unverified cleaning hacks. Benjamin Moore advises using a non-abrasive sponge and gentle pressure on painted walls; its maintenance guidance also warns against abrasive sponges on painted finishes. Sherwin-Williams similarly recommends mild soap, warm water, and a soft cloth or sponge for painted surfaces. Baseboard paint can vary, so test any damp method in a discreet spot before cleaning a visible area. See the current manufacturer guidance from Benjamin Moore and Sherwin-Williams.
How to Clean Baseboards Step by Step
1. Clear the working area
Move small objects, cords, and lightweight furniture away from the wall. Place a towel beneath the section if the flooring is sensitive to moisture. Open blinds or turn on nearby lights so scuffs and residue are easier to see.
2. Remove loose dust from top to bottom
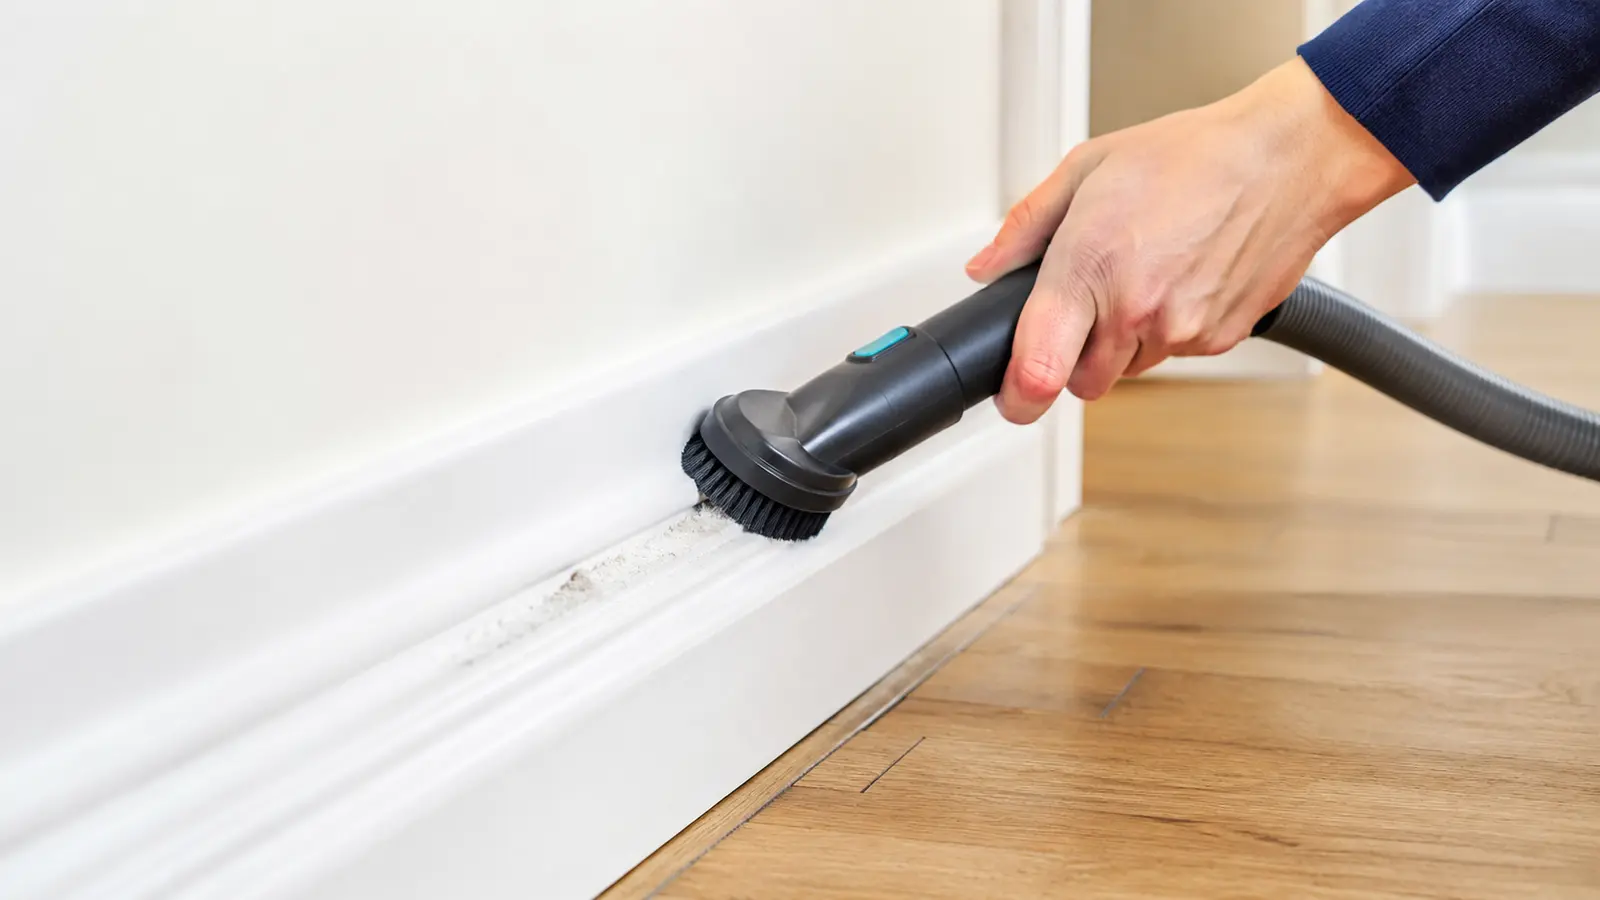
Use the vacuum’s soft brush attachment along the top ledge, molded grooves, vertical face, and floor edge. Keep the nozzle moving gently so it does not scrape the finish. A clean microfiber duster works when a vacuum is unavailable, but shake or change it before it becomes loaded with dust.
3. Test the damp method
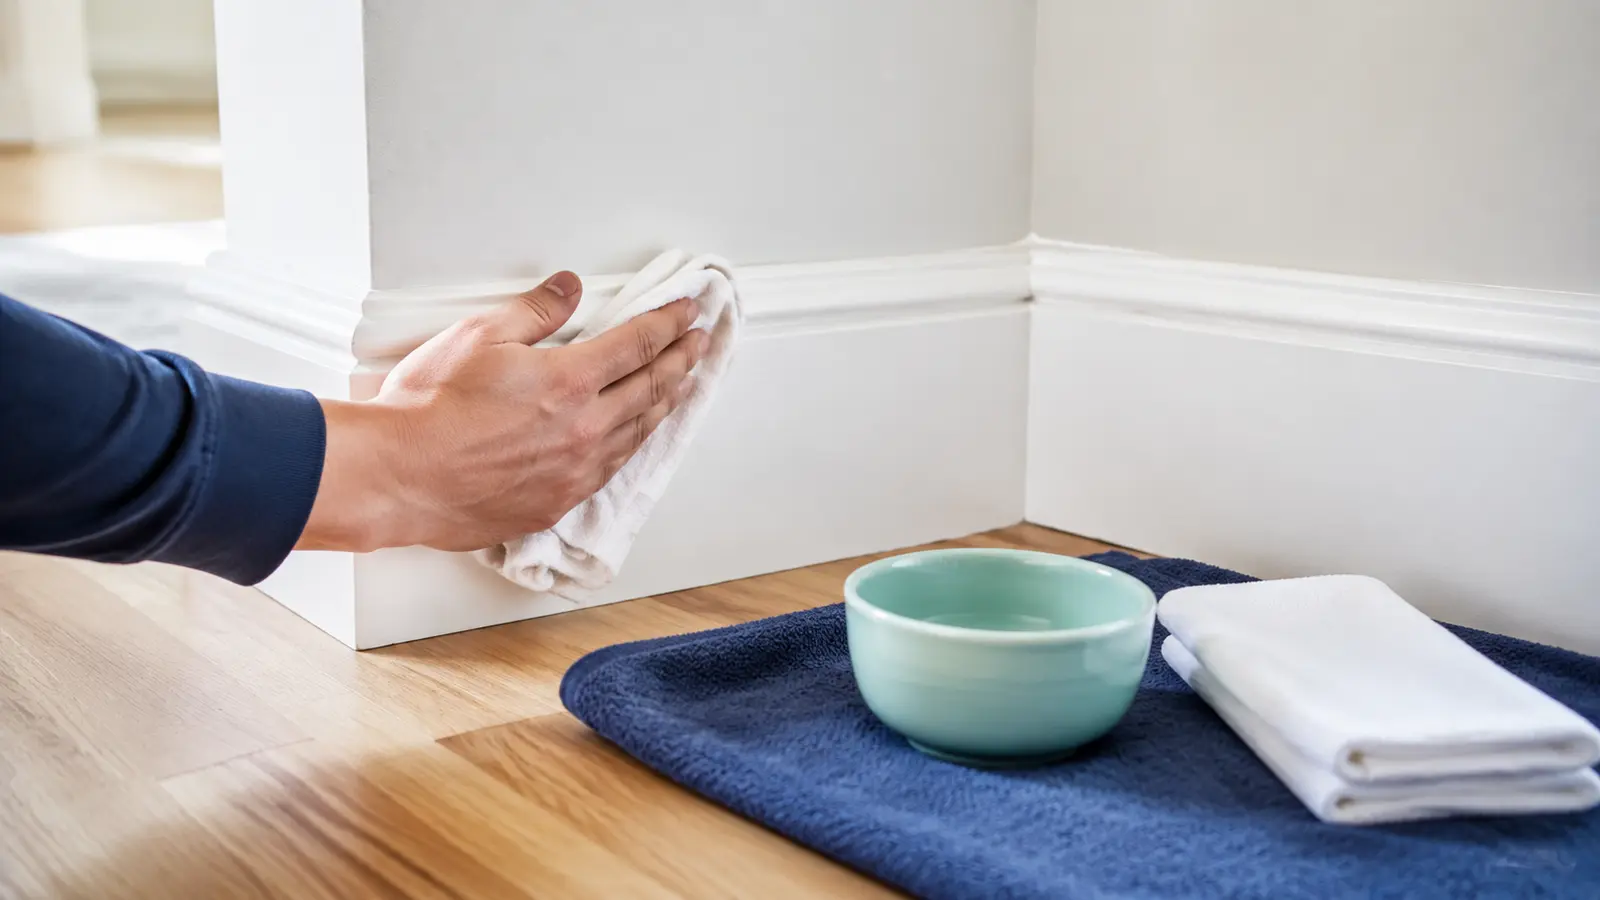
Dampen a white microfiber cloth with plain warm water and wring it thoroughly. Wipe an inconspicuous spot, then allow it to dry. Stop if color transfers to the cloth, the finish becomes dull, or the trim swells. If you know the paint or trim product, check its manufacturer instructions before proceeding.
4. Wipe in short sections
Start with a section about an arm’s length. Wipe the top edge first, then the face and bottom edge. Fold the cloth to expose a clean side as it picks up soil. Rinse or replace it frequently; continuing with a dirty cloth simply redistributes grime.
5. Detail grooves and corners
Wrap the cloth around a finger for simple profiles. For narrow grooves, loosen residue with a soft detail brush, then wipe it away. Avoid forcing water into seams, nail holes, chipped paint, or the joint where trim meets flooring.
6. Remove residue and dry
If a manufacturer-approved cleaner was needed, use a separate barely damp cloth to remove remaining residue. Finish with a dry microfiber cloth. Check the floor edge for dust or drips before moving furniture back.
How to Clean Stubborn Marks
For a stubborn spot, first identify what you are cleaning. A dusty streak, shoe scuff, food splash, and paint transfer do not always respond to the same method. Begin with the least aggressive option: plain warm water and gentle pressure. If that fails, use only a product the finish manufacturer permits, following the label exactly.
Do not jump straight to abrasive pads or powerful chemicals. Aggressive rubbing can polish or dull paint unevenly, a change sometimes called burnishing. Benjamin Moore’s paint troubleshooting guidance recommends non-abrasive cleaners with a soft cloth or sponge and a clean-water rinse for painted surfaces. If a mark remains after a careful second attempt, it may be damaged paint rather than removable soil.
Keep products in their original containers, ventilate as directed, and never mix cleaners. The U.S. Environmental Protection Agency advises following labels, avoiding chemical mixtures, and using mild soap and water when appropriate; its indoor environment guidance also points readers to EPA Safer Choice products.
How to Clean Different Baseboard Finishes
Painted wood or MDF
Use a soft cloth, low moisture, and light pressure. Pay particular attention to chips and exposed edges because composite material can be sensitive to water. Recently painted trim may need curing time before washing; consult the paint manufacturer instead of assuming it is ready.
Stained or sealed wood
Dust thoroughly and follow the wood finish manufacturer’s care instructions. Do not let water collect in joints or along the floor. If the finish is unknown, a dry microfiber pass is the safest routine starting point until compatible care is confirmed.
Vinyl, PVC, or other synthetic trim
These materials may tolerate damp cleaning, but the printed or coated surface can still scratch or discolor. Check the manufacturer’s instructions, test first, and avoid abrasive tools. Caulk lines and wall paint beside the trim may be less washable than the trim itself.
How to Avoid Making a Mess
- Vacuum before wiping. This is the most important step for preventing muddy streaks.
- Work from cleaner rooms toward dirtier ones. Change cloths before moving from an entry or kitchen into another area.
- Use two-cloth control. Keep one cloth for damp cleaning and another for drying.
- Carry a small container. A smaller water supply is easier to control than a full bucket near flooring.
- Clean in short runs. Finish and inspect one wall before starting the next.
- Vacuum the floor last. This captures anything loosened during detailing.
If you are cleaning several rooms, add baseboards to an entire-house cleaning checklist rather than treating them as a separate marathon. Pairing them with floor care reduces repeated setup and keeps the order logical. For laminate, follow the separate guide to clean laminate floors without leaving streaks so moisture and residue stay controlled.
How Often to Clean Baseboards
There is no universal schedule. A quick dry dusting during regular floor care is often enough to prevent heavy buildup. Entryways, kitchens, hallways, and rooms with pets or frequent open windows may need attention sooner than low-traffic rooms.
Use visible soil as the trigger. If the top edge has a gray line, corners are collecting hair, or scuffs are becoming harder to remove, shorten the interval. A practical house cleaning maintenance schedule should adapt to the space instead of forcing every task into the same frequency.
When Professional Cleaning Helps
Baseboards become time-consuming when dust has settled into detailed profiles, marks run through several rooms, or the task is part of a larger reset. Professional help can make sense when floors, trim, doors, kitchens, and bathrooms all need coordinated attention.
SRS Cleaning Services provides house cleaning in Orange County, including detailed options for spaces that need more than routine upkeep. Review the scope of Deep Cleaning and ask which trim details are included before booking.
Baseboard Cleaning FAQ
What is the best thing to use to clean baseboards?
For routine care, start with a vacuum brush or microfiber duster, followed by a barely damp soft cloth if needed. Plain warm water is the least aggressive wet option. Use a cleaner only when the finish manufacturer and product label indicate compatibility.
Can I clean baseboards without getting on the floor?
An extendable microfiber duster or a clean flat mop with a soft pad can handle light dust while standing. It offers less precision around corners and grooves, so detailed spots may still require closer work. Avoid pressing hard with a long handle because it is easier to damage the finish.
Should baseboards be cleaned before or after vacuuming floors?
Vacuum the baseboards first, clean them, and then vacuum the floor. The first pass removes dust from the trim; the final floor pass captures particles dislodged during detailing.
Ready for a More Detailed Clean?
If baseboards are one item on a much longer list, ask SRS Cleaning Services about the right cleaning scope for your Orange County space.