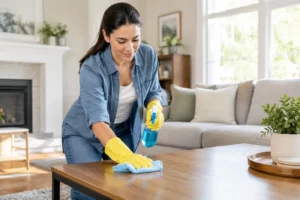
Kitchen cabinets usually clean up best with the gentlest method that works: remove loose dust, wipe a small section with a soft cloth that is only lightly damp, and dry it right away. Before using any cleaner, identify the cabinet finish and check the manufacturer’s care instructions. Painted wood, stained wood, laminate, thermofoil, high-gloss surfaces, and glass inserts do not always tolerate the same products.
If greasy fingerprints and cooking residue have made the room feel less fresh, you do not need to attack every door at once. A careful top-to-bottom routine can restore a cleaner look while reducing the risk of haze, scratches, swollen edges, or a softened finish.
What should you check before cleaning kitchen cabinets?
Start with the finish, not the stain. Cabinet doors can look like wood while actually being wood veneer, laminate, thermofoil, or a painted engineered material. If you have the installation paperwork, model information, or manufacturer name, use its current care guide as the deciding authority.
Next, inspect a discreet area for peeling paint, exposed wood, loose veneer, swollen seams, cracked thermofoil, or a failing clear coat. Moisture can move beneath an already damaged surface. If the finish is unstable, pause before wet cleaning and ask the cabinet manufacturer or a qualified refinisher for guidance.
Even when the finish looks sound, test your planned method inside a door or along a low, hidden edge. Let the test area dry completely, then check it in good light for a change in sheen, color, texture, or adhesion.

What supplies do you need?
- Several clean, soft cotton or microfiber cloths
- A soft brush or vacuum with a soft dusting attachment
- Two small bowls or buckets: one for the approved cleaning solution and one for clean rinse water
- A dry towel for protecting counters and floors
- A mild hand-dishwashing liquid only if the cabinet maker permits it
- Cotton swabs for narrow corners, used without forcing moisture into seams
- Gloves if the product label calls for them
Keep the setup simple. MasterBrand’s cabinet-care guidance says a soft cloth dampened with warm water is often enough and describes a mild hand-dishwashing-liquid solution for heavier grime. It also says stained or painted cabinets should be wiped with a clean damp cloth and dried, while laminate and high-gloss materials should be dried with microfiber to avoid scratching. Follow your own cabinet manufacturer if its directions differ.
How do you clean kitchen cabinets step by step?
1. Clear the work zone
Move countertop appliances and food away from the section you are cleaning. Place a dry towel below the cabinet doors to catch drips. Work on one or two doors at a time so moisture never sits while you move across the room.
2. Remove loose dust first
Use a soft dry cloth, a soft brush, or a vacuum dusting tool to lift dust from door panels, trim, hinges, and cabinet tops. Removing grit before wiping reduces the chance of dragging particles across glossy paint or laminate.
3. Start with warm water
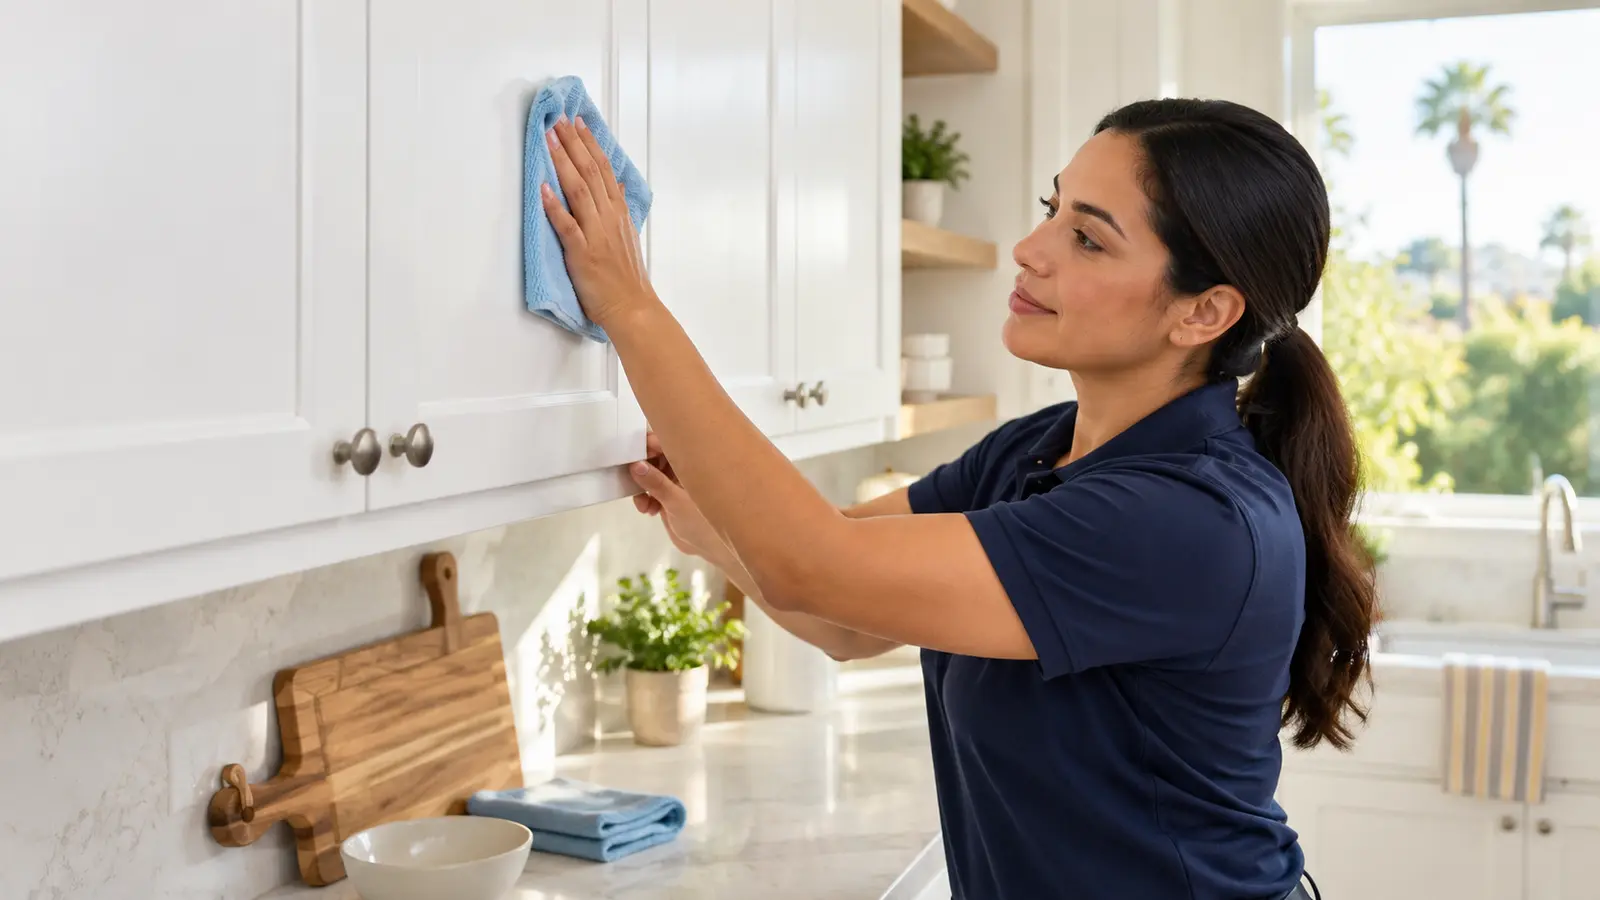
Dampen a clean cloth with warm water and wring it until it feels barely damp, not wet. Wipe from the top of the door downward with light pressure. Do not spray liquid directly onto a door, hinge, seam, or glass insert.
4. Use an approved mild solution only when needed
If water alone does not lift the film, use the mild cleaner and dilution allowed by your manufacturer. Apply it to the cloth rather than the cabinet. Clean a small section, turning the cloth frequently so loosened grease is not spread onto the next door.
5. Remove residue and dry immediately
Wipe the section with a separate cloth lightly dampened with clean water, if the care guide calls for rinsing. Follow immediately with a soft dry cloth. Pay special attention to bottom edges, corners, joints, and the areas beside the sink or dishwasher.
6. Clean hardware with control
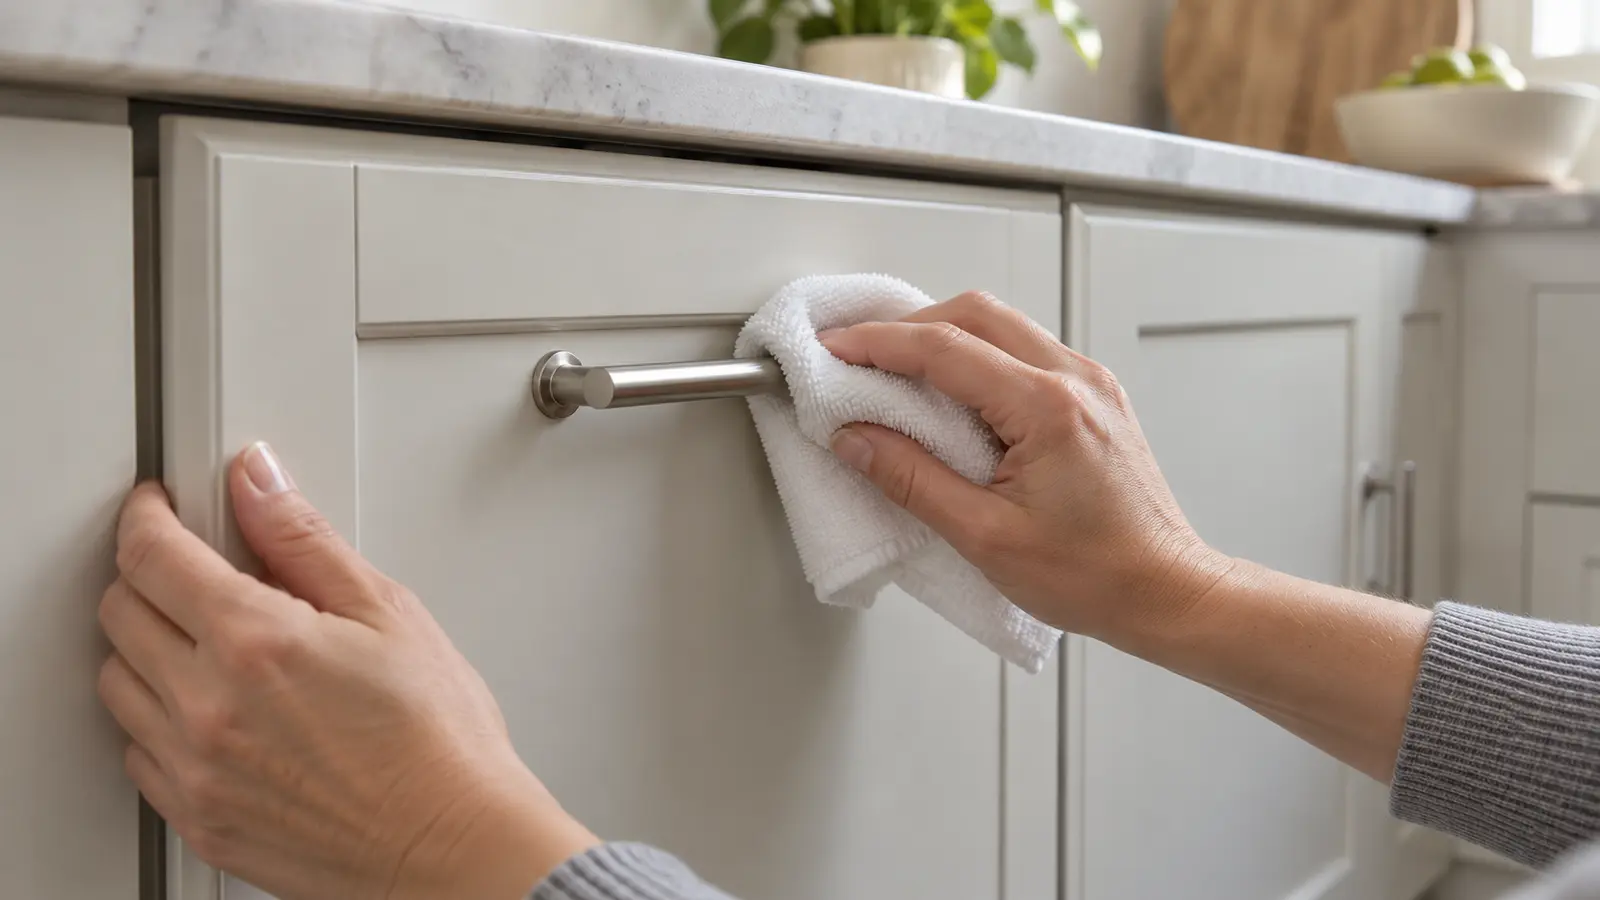
Wipe knobs and pulls with a separate barely damp cloth, then dry them. Avoid flooding hinge cups, screw holes, and the edge where the door finish meets the hardware. If you plan to remove hardware for a deeper clean, confirm the manufacturer’s instructions first so you do not damage the finish or misalign the door.
How do you clean greasy cabinet doors?
Grease responds better to patient passes than aggressive scrubbing. After dry dusting, hold an approved lightly dampened cloth against a small sticky area briefly, then wipe with gentle pressure. Repeat with a clean section of cloth rather than reaching for a rough pad or stronger chemical.
Focus first on handles, the doors beside the range, the underside of upper cabinets, and the areas around the waste bin and sink. KraftMaid recommends routine, gentle cleaning, prompt spill cleanup, thorough drying, and avoiding harsh detergents, abrasive formulas, powdered cleaners, and scouring pads. Those principles are useful beyond one brand, but the instructions for your exact finish still come first.
If sticky residue remains after two or three careful passes, stop and reassess. The film may be old polish, degraded finish, adhesive, or cooking residue that needs a product approved specifically for that cabinet. Scrubbing harder can turn a small problem into a permanent shiny or dull patch.
How should different cabinet materials be cleaned?
Painted and stained wood
Use the least moisture possible and dry each area promptly. Avoid working liquid into joints, exposed edges, cracks, or places where the finish has worn through. Do not assume a general wood cleaner, furniture polish, vinegar solution, or degreaser is safe; confirm it for the specific topcoat.
Laminate, thermofoil, and high-gloss doors
Use a clean microfiber cloth and a nonabrasive method approved for the material. Keep moisture away from seams and edges, where it can reach the substrate or adhesive. Dry the surface with clean microfiber rather than paper towel or a used dishcloth that may hold grit.
Glass-front cabinets
Protect the surrounding frame. MasterBrand advises applying ammonia-free glass cleaner to a soft lint-free cloth rather than spraying the glass directly, which helps prevent seepage behind dividers and into nearby materials. Clean the glass in controlled passes and dry the frame immediately if it becomes damp.
Unfinished, antique, or already damaged cabinets
Do not treat these like sealed modern cabinetry. Unfinished wood can absorb moisture and discolor, while antique coatings may react unpredictably. Peeling thermofoil, swollen panels, flaking paint, or exposed substrate should be evaluated before wet cleaning.
What cabinet-cleaning mistakes should you avoid?
- Spraying the door directly. Liquid can collect at edges, behind hardware, and inside joints.
- Using a soaked cloth. More water does not mean more cleaning power.
- Scrubbing with abrasive pads or powders. They can scratch or change the sheen.
- Applying bleach, ammonia, solvents, or a strong multipurpose degreaser without approval. Cabinet manufacturers commonly warn that harsh products can damage finishes.
- Mixing cleaners. Never combine cleaning products; follow one product label and the cabinet-care instructions.
- Using an old kitchen sponge or greasy dishcloth. Trapped grit and residue can spread soil or mark glossy surfaces.
- Skipping the dry pass. Moisture left around seams, sink bases, and dishwasher-adjacent doors can cause damage.
- Waxing or polishing by habit. MasterBrand advises against wax and polish because buildup can become hazy, streaked, or yellowed.
- Using steam. Concentrated heat and moisture can affect adhesives, finishes, and edge bonds; use only if the cabinet manufacturer expressly allows it.
How do you troubleshoot streaks, stickiness, and damage?
The cabinets look streaky after drying
Residue or an overloaded cloth is the likely cause. With the manufacturer’s approval, make one light pass using a clean cloth barely dampened with plain water, then buff dry with fresh microfiber. Work in smaller sections and replace cloudy rinse water.
The surface still feels sticky
Do not keep adding stronger products. The stickiness could be grease, cleaner residue, old wax, deteriorating coating, or failing adhesive. Stop after a gentle rinse-and-dry attempt and contact the manufacturer or a refinisher if the cause is unclear.
The finish looks dull, soft, or discolored
Stop cleaning that surface. Do not polish over the area or try another solvent. Photograph the change, note the product used, save its label, and contact the cabinet maker or a qualified finish professional. Further rubbing can make diagnosis and repair harder.
A seam or edge is swollen or lifting
Keep the area dry and address the source of moisture. Swelling, delamination, or peeling is a material problem, not a soil problem. Cleaning will not reverse it, and more liquid may spread the damage.
How can you keep cabinets cleaner between deep cleans?
- Wipe fresh splashes and greasy fingerprints promptly using the approved method.
- Give the handles and doors beside the range a gentle regular wipe before residue hardens.
- Run the kitchen exhaust system as directed while cooking to help manage airborne grease and moisture.
- Keep wet towels off cabinet doors and dry splashes around the sink and dishwasher.
- Dust cabinet tops periodically so the buildup does not combine with grease.
- Use clean cloths reserved for delicate surfaces.
A simple maintenance rhythm is easier than an occasional aggressive scrub. You can pair cabinet care with a broader whole-house cleaning checklist, then handle nearby details with the guides for streak-free stainless steel and cleaning baseboards without making a mess.
When is professional cleaning the better next step?
Consider professional help when grease covers a large kitchen, buildup extends across doors, trim, and cabinet tops, or the job needs to be coordinated with the rest of the room. Professional cleaning is also practical when time is limited or when a detailed kitchen reset is part of a larger deep cleaning project.
A cleaner still needs accurate material information. Point out delicate, newly painted, antique, repaired, or already damaged surfaces, and share any available manufacturer instructions. Finish repair, refinishing, delamination, and water damage should go to the appropriate specialist rather than being treated as routine cleaning.
Kitchen cabinet cleaning FAQ
Can you use dish soap on kitchen cabinets?
Some manufacturers allow a mild hand-dishwashing-liquid solution for certain finished cabinets, but formulas and finishes vary. Check the cabinet maker’s instructions, use the stated dilution, test first, keep the cloth lightly damp, remove residue as directed, and dry promptly. Dishwasher detergent is not the same product.
Can you use vinegar on wood cabinets?
Do not assume vinegar is safe for a wood finish. Acids can affect some coatings, and online recipes cannot account for your cabinet’s topcoat or condition. Use only a method approved by the manufacturer or a qualified finish professional.
Should you clean the inside of cabinets the same way?
Not automatically. Interior panels and shelf surfaces may use a different material from the door fronts. Empty one section, vacuum crumbs, check the care instructions, spot test, use minimal moisture, and let the area dry completely before replacing food or shelf liners.
How often should kitchen cabinets be cleaned?
Clean spills promptly and wipe high-touch or cooking-adjacent areas as buildup appears. The right deeper-cleaning schedule depends on cooking frequency, ventilation, cabinet color and sheen, and the manufacturer’s maintenance advice. Frequent light care is generally safer than waiting for heavy greasy buildup.
Want the rest of the kitchen handled too?
If cabinet fronts are only one part of a bigger cleaning list, SRS Cleaning Services can help with detailed house cleaning in Orange County. Tell us about the space, the areas that need attention, and any delicate finishes when you request a quote.