Get a Quote

Tag: Move-in Cleaning

  • How to Prepare a Rental Property Between Tenants

    How to Prepare a Rental Property Between Tenants

    A fast turnover can be tempting, especially when every vacant day affects rental income. But rushing the work needed to prepare a rental property often creates a different cost: missed repairs, unhappy new tenants, and a home that does not show its full value. A clear turnover plan gives you a clean, safe, well-presented space and fewer surprises after move-in.

    For Orange County landlords and property managers, expectations are high. Tenants notice the details – the shower corners, the condition of the blinds, the smell when they open the front door, and whether appliances look ready to use. Preparing the property well protects your investment while helping the next resident feel confident they chose the right home.

    Start With a Complete Post-Move-Out Walkthrough

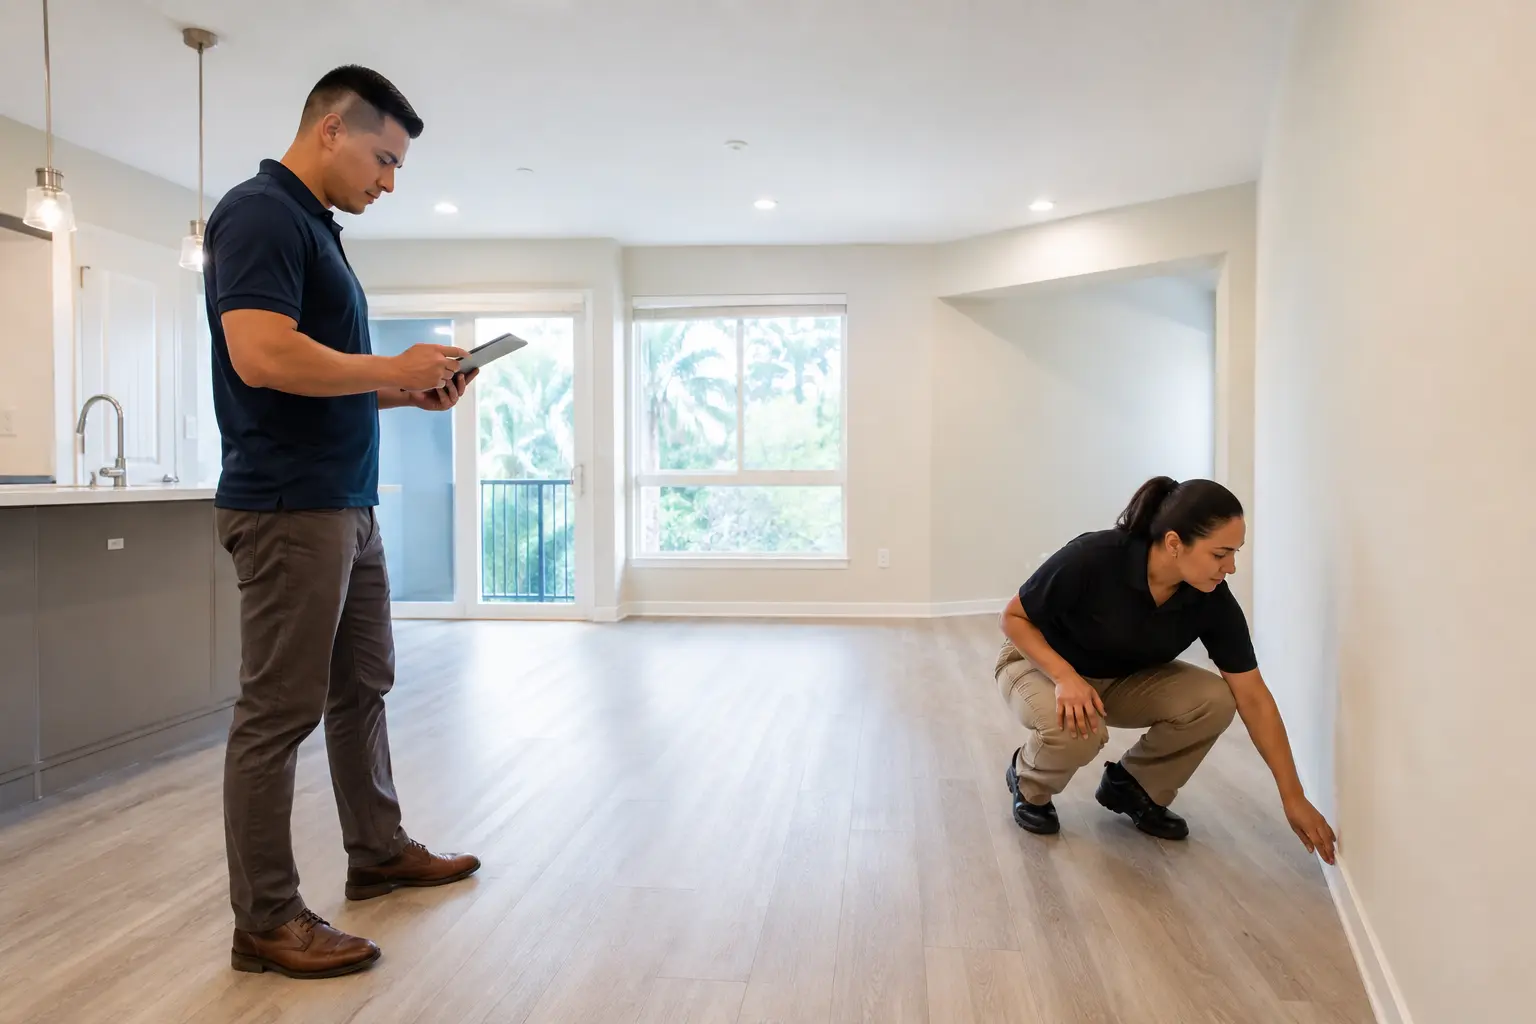
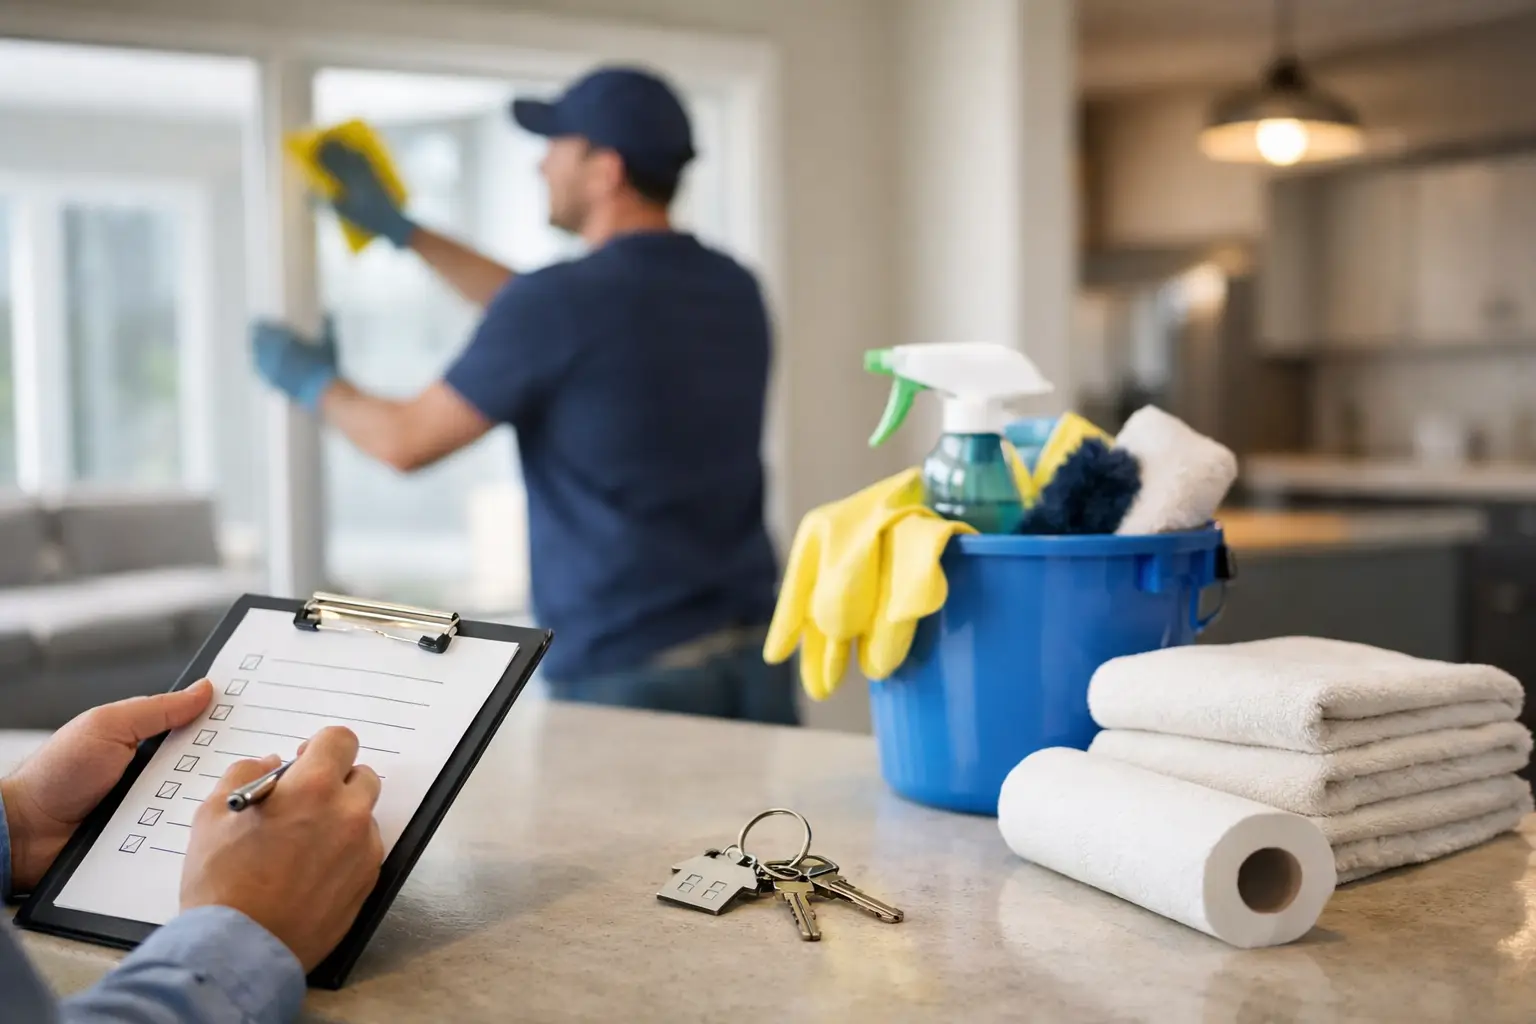
    Before scheduling cleaners or ordering supplies, walk through the empty property slowly. Bring the previous move-in condition report, your lease documentation, and a camera or phone. Compare the current condition with your records, noting normal wear separately from damage that may require repair or a security-deposit decision.

    Open cabinets, test lights, run faucets, flush toilets, and check windows and doors. Look beneath sinks for signs of leaks and inspect walls, baseboards, flooring, screens, and closet interiors. Small issues are easier and less expensive to address before the next tenant brings in furniture.

    Photograph every room after the unit is vacant and again after the turnover is complete. Clear, dated photos support your records and give maintenance vendors a useful reference. They also help you establish an accurate baseline for the new tenant’s move-in inspection.

    Separate Repairs From Cosmetic Refreshes

    Not every mark on a wall requires a full repaint, and not every worn item should be left for the next tenant. The right decision depends on the property’s condition, your lease terms, and how the repair will affect durability and presentation.

    Prioritize work that affects safety, function, or the tenant’s first impression. Repair dripping faucets, loose handles, damaged outlets, broken blinds, sticking doors, and worn caulking. Address stains and odors at their source rather than covering them with air freshener. A strong fragrance can make a home feel less clean, not more.

    Cosmetic updates can be strategic. Fresh touch-up paint, replaced cabinet pulls, new switch plates, or a clean grout line may make a familiar unit feel noticeably better without turning each turnover into a renovation. If flooring, paint, or appliances have reached the end of their useful life, replacement may be the more economical choice over repeated patchwork.

    Prepare a Rental Property With Cleaning in the Right Order

    Cleaning goes further when the home is empty and repairs are already finished. Dust from wall repairs, paint touch-ups, or maintenance work can settle on floors and surfaces, so schedule deep cleaning after contractors have completed their work whenever possible.

    Begin from the top of each room and work down. Ceiling fans, vents, ledges, blinds, and light fixtures collect dust that can quickly undo freshly cleaned floors. Then clean walls where needed, wipe doors and trim, and finish with floors. This order helps avoid repeating the same work.

    Kitchens and bathrooms deserve the most time because tenants use them immediately and inspect them closely. In the kitchen, clean inside and behind appliances, degrease the range and hood, sanitize counters, wipe cabinet interiors and drawers, and remove crumbs or residue from every shelf. Do not overlook the dishwasher filter, refrigerator drawers, microwave, sink drain, and the narrow spaces beside appliances.

    In bathrooms, focus on soap buildup, grout, toilet bases, fixtures, mirrors, exhaust fan covers, and the area behind the toilet. Replace visibly worn caulk where appropriate. A bathroom can be technically clean but still feel neglected if there is mineral buildup around faucets or grime in corners.

    A professional move-out cleaning service can be especially useful for larger homes, tight turnover schedules, or units that need more than a standard wipe-down. SRS Cleaning helps Orange County property owners and managers bring consistency to this part of the process, with detail-oriented cleaning that supports a polished handoff.

    Do Not Forget the Often-Missed Areas

    The areas tenants notice later are often the ones skipped during a quick turnover. These include closet shelves and tracks, window sills, baseboards, air vents, garage surfaces, patio areas, laundry connections, and the interiors of medicine cabinets.

    Pay attention to odor as well. Pet smells, cooking residue, smoke, mildew, and trash odors can remain after visible dirt is gone. Ventilate the property, empty all bins, clean drains, and identify the source before using any deodorizing product. If an odor persists, it may point to a deeper issue such as moisture damage, old carpet padding, or an appliance problem.

    Check Safety and Essential Systems Before Move-In

    A clean home is only one part of a successful turnover. Before keys change hands, test the systems the tenant will rely on from day one. Confirm that smoke and carbon monoxide alarms are installed where required, functional, and fitted with fresh batteries if applicable. Test locks, deadbolts, window latches, garage remotes, exterior lighting, and doorbell systems.

    Check heating and air conditioning, including filters, thermostats, and visible vents. In Southern California, a functioning cooling system matters even when a move happens outside the hottest months. Run water in all sinks and showers long enough to check drainage and water temperature. Verify that toilets flush properly and that appliances turn on as expected.

    If the property has a pool, spa, fireplace, gate, or other specialized feature, confirm that it is safe and that the incoming tenant receives clear operating information. This is also a good time to update emergency contacts, utility instructions, and any community rules you provide at move-in.

    Make the Home Ready to Show, Not Just Ready to Occupy

    A property can pass an inspection and still fail to make a strong impression. Once repairs and cleaning are complete, walk through it as a prospective tenant would. Stand at the entry. Does the home smell fresh and neutral? Is the path to the front door clear? Are lights working in rooms that may be shown in the evening?

    Remove leftover supplies, contractor debris, old mail, and unused hardware. Sweep the entry, tidy the patio or balcony, and make sure the exterior looks cared for. In a competitive rental market, a clean front door, clear windows, and well-kept common areas can influence a tenant’s opinion before they see the kitchen.

    Take current marketing photos only after the final cleaning and staging touches are complete. Bright, uncluttered photos set accurate expectations and help reduce the gap between the listing and the in-person showing. If the property has distinctive features such as natural light, storage, a private outdoor area, or updated finishes, photograph them clearly.

    Create a Better Move-In Handoff

    The final step is more than giving the tenant keys. Provide a move-in condition form and encourage the tenant to document concerns promptly. Make sure they know how to reach you or the property manager for urgent maintenance issues, where to find utility information, and how trash, parking, and building access work.

    Leave the property truly empty unless you have agreed to provide specific items. A few spare paint cans or cleaning products may seem helpful, but unapproved items can create confusion about ownership or disposal. If you leave manuals, remotes, mailbox keys, or gate fobs, list each item clearly.

    A well-prepared rental sets a respectful tone. It tells new tenants that the property is cared for and that maintenance concerns will be handled thoughtfully. That first impression can lead to better communication, more careful occupancy, and a calmer turnover process when it is time to do it again.

    Give yourself enough time to do the work in the right sequence. A clean, repaired, and carefully checked home is not simply ready for a new lease – it is ready to make the next resident feel at home from the moment they walk through the door.
  • Apartment Turnover Cleaning Checklist for Faster Unit Readiness

    Apartment Turnover Cleaning Checklist for Faster Unit Readiness

    An apartment turnover cleaning checklist helps property managers move a vacant unit from move-out condition to ready-for-showing without losing track of details, access, or vendor handoffs. The best checklist does more than name surfaces to wipe. It puts inspection, repairs, cleaning, quality control, and documentation in the right order so work is not repeated.

    This practical guide is designed for apartment communities and rental-property teams throughout Orange County. Use it as a master workflow, then adapt it to the unit, lease requirements, property standards, and work your maintenance team has already approved.

    What apartment turnover cleaning should accomplish

    Turnover cleaning prepares a vacant apartment for its next approved use: maintenance inspection, marketing photos, a prospective-resident tour, or move-in. It is different from routine occupied-apartment cleaning because cabinets are empty, appliances can be cleaned inside, and areas normally blocked by furniture are accessible.

    Cleaning is only one part of the turn. Damage assessment, abandoned-property handling, pest treatment, painting, repairs, flooring work, and safety checks may require separate vendors or authorized staff. A clear scope prevents a cleaner from being asked to make repair decisions and keeps dust-producing work from undoing a completed clean.

    For a broader overview of coordination and common turnover priorities, see SRS Cleaning’s rental turnover cleaning guide for property managers. The checklist below turns that strategy into a repeatable sequence.

    Apartment turnover cleaning checklist: the correct order

    1. Inspect and document the vacant unit

    Begin only after possession and entry requirements have been handled according to your property’s procedures. Walk the unit before moving supplies inside. Record the starting condition with dated photos or your approved inspection system, and separate cleaning issues from damage or maintenance issues.

    • Confirm the unit number, floor plan, keys, codes, and authorized access window.
    • Photograph kitchens, bathrooms, floors, walls, windows, closets, and appliance interiors.
    • Flag leaks, broken fixtures, damaged screens, loose hardware, pest evidence, or other concerns for the appropriate team.
    • Identify belongings, trash, or bulky items that must be handled before cleaning.
    • Note surfaces that need special care, including stone, stainless steel, wood, or delicate finishes.

    This first walk-through creates a shared definition of the work. It also gives the cleaner a reliable way to report a pre-existing stain, chip, or worn finish without confusing it with a missed cleaning task.

    2. Clear the unit and complete dust-producing work

    Schedule removal, repairs, patching, sanding, painting, flooring replacement, and similar work before the final clean whenever possible. If a repair must happen afterward, identify the affected room and plan a focused touch-up visit rather than assuming the unit will stay move-in ready.

    • Remove approved trash and remaining materials.
    • Finish repairs and allow paint, grout, caulk, or other materials to cure as directed.
    • Remove contractor packaging, labels, tape, and protective coverings that are ready to come off.
    • Confirm electricity and water are available where needed for cleaning.
    • Make sure maintenance tools and debris are out of the cleaner’s path.

    3. Clean high areas before low areas

    Work from dry tasks to wet tasks, from high surfaces to low surfaces, and from the farthest room toward the exit. That sequence keeps settled dust from falling onto finished counters or floors. A practical order is vents and ledges, cabinets and fixtures, counters and appliances, baseboards, and then flooring.

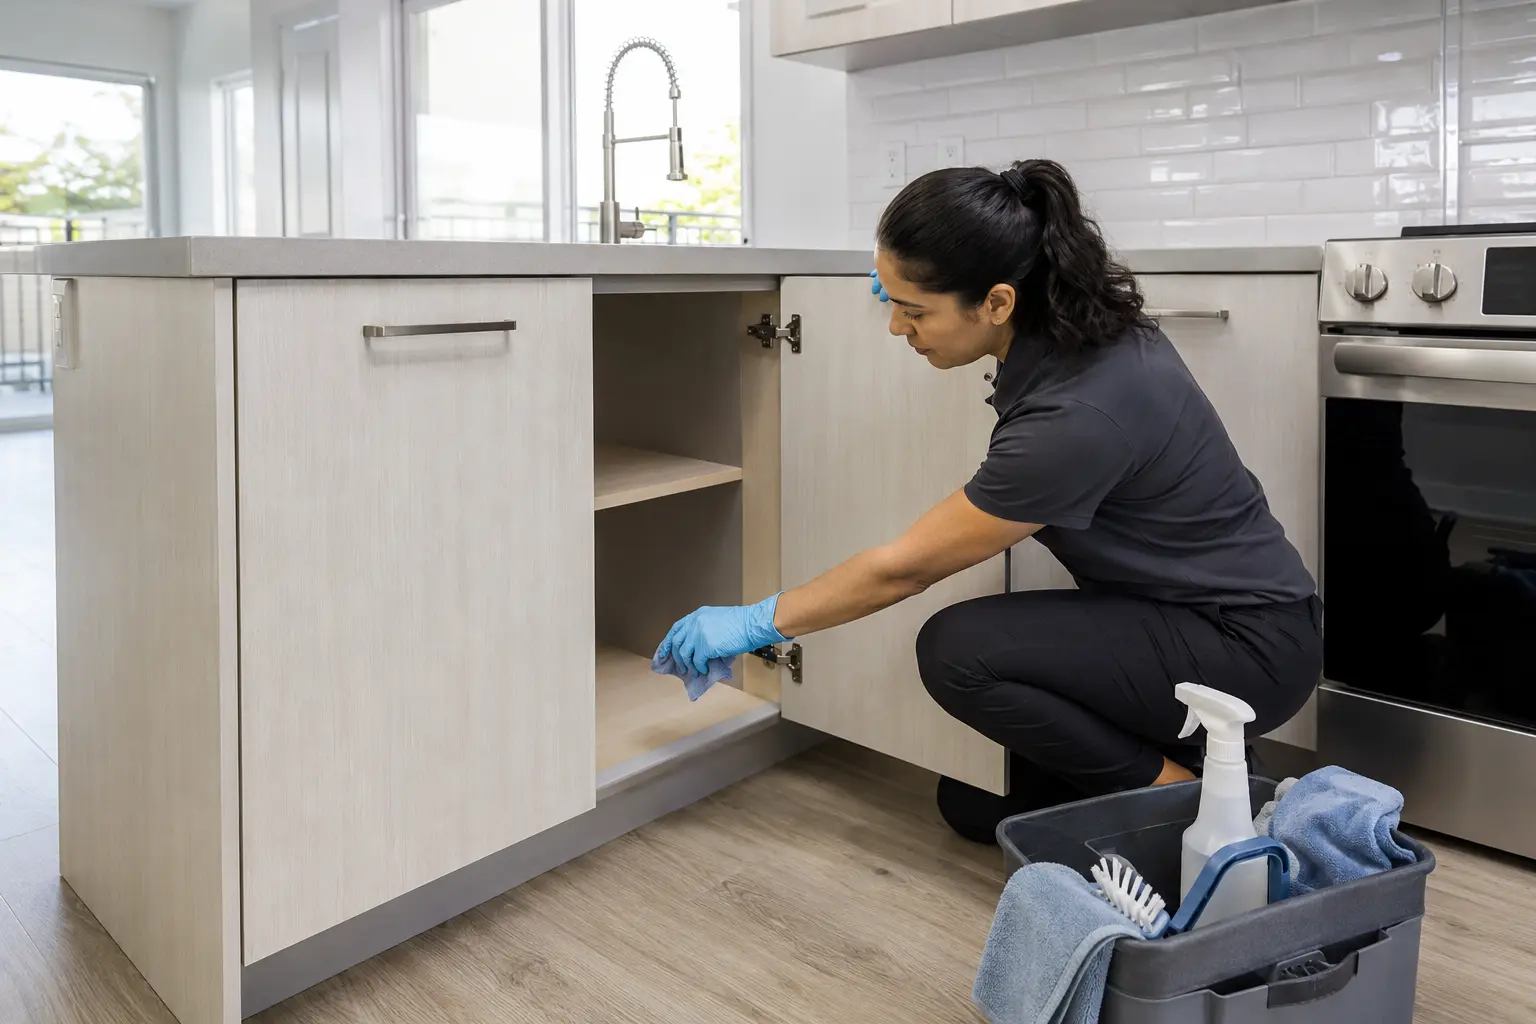
    Professional cleaner wiping the inside of an empty kitchen cabinet during apartment turnover cleaning
    Empty cabinets make it possible to clean shelves, corners, and hardware before the next resident moves in.

    Room-by-room turnover cleaning tasks

    Kitchen

    • Remove loose crumbs and debris from empty drawers, shelves, and cabinet corners.
    • Wipe cabinet and drawer interiors, fronts, handles, and accessible edges using a surface-appropriate method.
    • Clean countertops, backsplash, sink basin, faucet, drain area, and exposed plumbing cabinet surfaces.
    • Clean the refrigerator interior, drawers, shelves, seals, exterior, and accessible top and sides when included in the scope.
    • Clean the oven and cooktop according to the appliance finish; wipe knobs, control panels, hood exterior, and accessible filters.
    • Wipe the dishwasher interior lip, exterior, controls, and surrounding cabinet faces.
    • Check corners, toe kicks, baseboards, wall plates, and the floor beneath movable items.

    Appliances vary, so the scope should say whether interior oven and refrigerator cleaning is included and whether appliances may be moved. Cleaners should not disconnect gas, water, or electrical connections unless they are specifically trained and authorized to do so.

    Bathrooms

    • Clean and disinfect appropriate high-touch surfaces such as handles, switches, and fixture controls.
    • Remove soap residue and mineral buildup from tubs, showers, tile, surrounds, doors, and tracks using finish-safe products.
    • Clean the toilet, including the seat, hinges, exterior, base, and nearby floor area.
    • Clean the vanity, sink, faucet, mirror, empty storage, and accessible plumbing cabinet surfaces.
    • Wipe exhaust covers, ledges, doors, trim, baseboards, and wall plates.
    • Check the room from several angles for hair, dust, streaks, and residue.

    Persistent discoloration, failed caulk, damaged grout, corrosion, or an active leak may need maintenance rather than additional scrubbing. Flagging that distinction early prevents wasted time and protects the finish.

    Bedrooms, living areas, closets, and halls

    • Dust accessible vents, fan exteriors, light fixtures, ledges, door tops, and closet shelving.
    • Wipe doors, frames, handles, switches, wall plates, windowsills, tracks, and baseboards.
    • Remove cobwebs and check corners, closet floors, and the space behind open doors.
    • Spot-clean washable marks only when the method is appropriate for the paint and within scope.
    • Vacuum carpet edges and open areas or clean hard floors with a finish-appropriate process.
    • Complete a final edge check where dust and hair tend to collect.

    If the unit needs a more extensive vacant-home service, review SRS Cleaning’s move-in and move-out cleaning service and confirm the exact unit scope before work begins.

    Build a pass-or-correct quality-control step

    A checklist is only useful when every item has a clear completion standard. “Clean kitchen” is subjective. “Cabinet interiors are empty and free of visible crumbs, dust, and residue” is easier to inspect. Define whether each item passes, needs correction, is excluded, or requires maintenance.

    Property manager and cleaning lead completing a final walkthrough in a clean vacant apartment
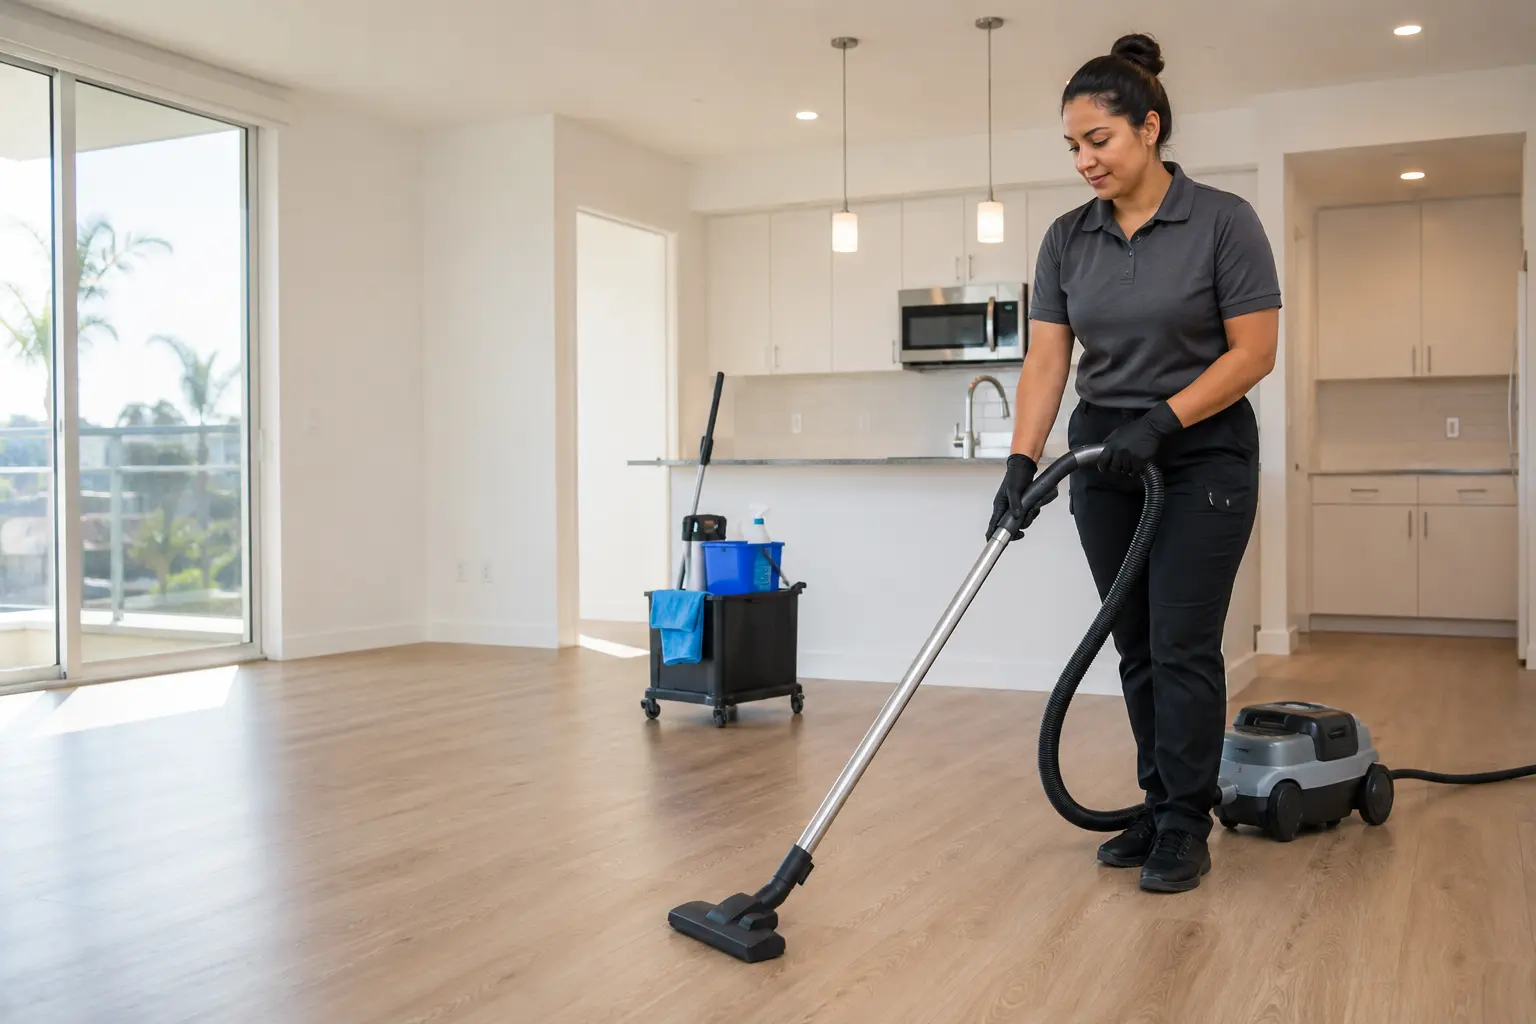
    A documented final walkthrough helps the property team separate completed cleaning from maintenance follow-up.

    During the final walk-through:

    1. Enter with clean shoes or protective covers if the flooring requires them.
    2. Turn on available lights and inspect from the doorway before moving through the room.
    3. Open empty cabinets, drawers, closets, appliances, and shower doors included in the scope.
    4. Look across reflective surfaces for streaks and check floor edges at eye level.
    5. Record corrections with a room, item, and photo instead of a vague message.
    6. Confirm corrections and save final condition photos in the property’s approved system.
    7. Secure windows, turn off lights and water, remove supplies, and follow the approved key-return process.

    A consistent inspection method is especially important across multiple units or team members. SRS Cleaning’s guide to apartment cleaning priorities that matter most can help managers decide which details deserve the most attention during the handoff.

    How to shorten unit downtime without cutting cleaning quality

    Faster readiness usually comes from removing uncertainty, not rushing the final clean. Give each vendor a defined start condition, scope, access method, and completion signal. A shared turn board or property-management workflow can show which step is ready and which is blocked.

    • Use one accountable coordinator. A single contact can approve scope questions and prevent conflicting instructions.
    • Group similar work. When appropriate, scheduling comparable unit types together can simplify supplies, access, and inspection.
    • Share exclusions in advance. Identify repairs, permanent stains, worn finishes, and owner-responsibility items before the cleaning team arrives.
    • Protect completed work. If vendors must re-enter, define pathways and require debris removal.
    • Reserve time for correction. A realistic handoff window is more useful than declaring the unit ready before inspection.

    Turn times depend on unit size, condition, scope, utilities, access, staffing, and the amount of repair work. Avoid promising a universal number of hours. Instead, provide complete unit details so the cleaning team can set a realistic plan.

    What to send when requesting a turnover-cleaning quote

    A complete request reduces back-and-forth and helps the cleaner price the actual work rather than a generic apartment. Include:

    • Property city and unit type, including approximate size and bedroom/bath count.
    • Current condition and whether belongings or construction debris remain.
    • Requested rooms, appliance interiors, windows or tracks, cabinets, floors, and add-on priorities.
    • Surface or appliance details that may affect cleaning methods.
    • Access procedure, parking or loading instructions, and on-site contact.
    • Earliest authorized start, target inspection window, and any vendor dependencies.
    • Photo, documentation, invoicing, or purchase-order requirements.

    SRS Cleaning serves communities across its Orange County service area. Confirm availability and scope for a specific property rather than linking work to an unpublished city page.

    Apartment turnover cleaning checklist FAQ

    What is apartment turnover cleaning?

    It is a vacant-unit cleaning service performed between occupants. Depending on the agreed scope, it can include accessible surfaces, empty cabinets and drawers, appliance interiors, bathrooms, baseboards, and floors. Repairs, painting, hauling, and restoration are separate unless specifically included by the responsible provider.

    Should maintenance or cleaning happen first?

    Most dust-producing repairs, painting, and flooring work should be complete before the final clean. Inspection and urgent maintenance come first; final floor care generally comes near the end. If work must overlap, document the handoff and plan a touch-up.

    How long does apartment turnover cleaning take?

    There is no reliable one-size-fits-all duration. Unit size, condition, requested detail, appliance interiors, flooring, access, utilities, and the number of cleaners all affect timing. Photos and a complete scope help produce a more useful estimate.

    How should managers document the final clean?

    Use the property’s approved inspection system to record room-by-room pass, correction, exclusion, or maintenance status. Dated photos, a named reviewer, and a clear correction deadline make the handoff easier to verify.

    Can one checklist work for every unit?

    Use one master standard for consistency, but adapt it for floor plan, finishes, appliances, occupancy condition, and approved scope. The goal is a repeatable process without treating unlike units as identical.

    Prepare the next Orange County unit with a clearer plan

    A reliable apartment turnover cleaning checklist connects the people doing the work with the person approving the result. Start with documentation, finish repairs before the final clean, inspect against specific standards, and record the handoff. That process supports smoother scheduling and a more consistent resident-ready experience.

    If your property team needs help cleaning a vacant apartment, request a cleaning quote from SRS Cleaning. Share the unit details, condition, scope, and target inspection window so the team can confirm an appropriate plan.

  • Move In Cleaning vs Move Out Cleaning Explained

    Move In Cleaning vs Move Out Cleaning Explained

    A move changes the way you look at a home. The cabinet that seemed fine yesterday suddenly needs wiping, the baseboards stand out, and every empty room reveals what has been missed. Understanding move in cleaning vs move out cleaning helps you choose the right service, protect your time, and begin the next chapter with less stress.

    Both services are detailed, one-time cleanings designed for an empty or mostly empty property. The difference is not simply whether you are arriving or leaving. It is the goal of the cleaning, the condition of the space, and the expectations that come with the handoff.

    What Move-In Cleaning Is Designed to Do

    Move-in cleaning prepares a home for the people about to live there. Even a well-kept property can hold dust in corners, residue in drawers, and grime in areas that are easy to overlook during a standard turnover. A fresh cleaning gives you a clean starting point before furniture, boxes, and daily routines fill the rooms.

    This service is especially helpful when you are moving into a previously occupied home, a newly purchased property, or a rental that appears clean but does not feel ready for your belongings. It is also useful after renovations or repairs, when fine dust can settle on surfaces long after the work is complete.

    A thorough move-in clean typically focuses on the areas that are difficult to reach once you are unpacked. That includes the inside of empty cabinets and drawers, closet shelves, interior windows where included, baseboards, doors, light switches, and detailed bathroom and kitchen surfaces. In the kitchen, the goal is to make food-prep and storage areas feel clean before you stock the pantry or place dishes in the cabinets.

    The practical benefit is simple: you avoid cleaning around boxes and furniture during an already demanding week. You can unpack knowing the spaces behind your belongings have been addressed.

    What Move-Out Cleaning Is Designed to Do

    Move-out cleaning is centered on leaving a property in a clean, presentable condition for the next resident, property manager, buyer, or landlord. It is often more about restoration and presentation than comfort. The home needs to show well and meet the expectations outlined in a lease, sale timeline, or turnover plan.

    For renters, a detailed move-out cleaning can support a smoother final walkthrough and help address one of the most common reasons for deposit deductions: avoidable cleaning issues. Every lease is different, and cleaning alone cannot guarantee a full security deposit return. Still, leaving the property in strong condition gives you a better starting position if questions arise.

    For homeowners preparing to sell, a clean empty home helps potential buyers focus on the layout, natural light, and finishes instead of dust, stains, or leftover residue. Property managers and real estate professionals also rely on move-out cleaning to shorten the time between occupants and present a well-cared-for property.

    Move-out cleaning often gives extra attention to buildup left behind through daily use. Grease around the stovetop, soap residue in showers, fingerprints near doors, dust behind appliances, and marks in cabinets are common examples. The goal is to leave the space looking cared for, not simply emptied.

    Move In Cleaning vs Move Out Cleaning: The Main Differences

    The core tasks may look similar because both services clean the home from top to bottom. Kitchens, bathrooms, floors, fixtures, cabinets, and high-touch surfaces matter in each case. The important difference is the perspective behind the work.

    A move-in clean is for your peace of mind. It prioritizes the areas you will touch, use, and store belongings in from day one. You may request extra attention inside cabinets, closets, refrigerator shelves, and bathroom surfaces because you want to make the home feel like yours.

    A move-out clean is for the next person and the final impression of the property. It prioritizes removing signs of occupancy and addressing visible buildup so the home is ready for inspection, listing photos, new tenants, or a new owner.

    Timing also differs. Move-in cleaning should happen after the previous residents have fully left and after any painting, repairs, flooring work, or pest treatment is complete. Scheduling too early can mean dust or debris returns before you arrive. Move-out cleaning is best completed after furniture and personal belongings are removed, ideally before the final walkthrough or key handoff.

    What Both Services Usually Cover

    The best way to compare services is to review the actual scope rather than rely only on the label. A professional move-related cleaning generally includes detailed dusting, vacuuming, mopping, bathroom sanitizing, kitchen surface cleaning, and attention to empty cabinets, drawers, doors, trim, and floors.

    The condition of the property matters. A lightly used apartment that was cleaned regularly may need a straightforward detailed service. A home with heavy kitchen grease, pet hair, hard-water buildup, or construction dust may need more time and a customized approach.

    Some tasks are commonly available as add-ons or may require special approval, including inside oven cleaning, refrigerator cleaning, interior windows, blinds, wall washing, garage cleaning, and carpet cleaning. Ask what is included before booking so there are no surprises on cleaning day. Clear communication is particularly valuable when a landlord, property manager, buyer, or seller has a specific checklist.

    How to Choose the Right Service for Your Situation

    Choose move-in cleaning if you want your new space cleaned before you settle in. It is the right choice when you are concerned about what prior occupants may have left behind, when the property has been vacant, or when you want to start unpacking without adding another major task to your list.

    Choose move-out cleaning if you are vacating a rental, placing a home on the market, finishing a lease, or preparing a property for the next occupant. It can also be the right fit for landlords and property managers handling an empty turnover between tenants.

    In some cases, you need both. You may be leaving one home and entering another with only a few days between the two. Booking separate cleanings lets you give each property the attention it needs rather than trying to manage two detailed jobs while coordinating movers, utilities, and paperwork.

    For Orange County moves, scheduling matters as much as the cleaning itself. Weekend moves, lease end dates, and closing timelines can create a tight window. Reserve cleaning early, share the date of your walkthrough or move-in, and let the cleaning team know whether the home will be empty. Those details help create a more accurate plan.

    Make Cleaning Day Easier

    A little preparation helps a professional team work efficiently and focus on the details. For a move-out cleaning, remove all personal belongings, empty trash, and take unwanted items with you or arrange disposal beforehand. Cleaners can clean an empty cabinet, but they should not have to decide what stays and what goes.

    For a move-in cleaning, make sure the previous occupants are out and that contractors have completed their work. If utilities are still active, keep water and electricity available for the appointment. Let the team know about access instructions, parking limitations, building elevator reservations, or any areas that need special attention.

    Photos can be useful before and after a rental turnover, especially if you want a record of the condition of the property. If you have a landlord or management checklist, share it in advance. That keeps expectations clear and helps everyone work from the same information.

    A Clean Start Is Worth Planning For

    Moving creates enough decisions without wondering when you will find time to scrub a shower, clean cabinet shelves, or tackle dust along every baseboard. Whether you are arriving, leaving, selling, or managing a turnover, professional cleaning turns one major task into a scheduled, manageable part of the process.

    SRS Cleaning helps Orange County clients prepare homes for the next step with detail-oriented service, clear communication, and cleaners you can trust in the space. Set the cleaning date around your move, then give yourself room to focus on the parts of the transition that only you can handle.

  • New House Cleaning Checklist Before You Move In

    New House Cleaning Checklist Before You Move In

    Moving into a new home should feel exciting, but opening the door to dusty shelves, sticky cabinets, or a bathroom that still feels like someone else’s can quickly add stress. A practical cleaning a new house checklist helps you use the short window before furniture and boxes block the areas that are easiest to reach while the home is empty.

    The goal is not to scrub randomly until you run out of time. It is to clean in the right order, protect each surface, and make the rooms you need first ready before moving day. Use this Orange County guide to decide what to clean, when to do it, and when professional move-in cleaning can take a major task off your schedule. If the property is being prepared before photos or showings instead, use this pre-listing cleaning checklist for presentation-focused details.

    Professional cleaner wiping a kitchen island in a bright Orange County home before move-in
    A professional move-in cleaning helps prepare an empty home before boxes are unpacked.

    Why Clean a New House Before Moving In?

    An empty home gives you access you may not have again for years. You can reach closet corners, cabinet interiors, baseboards, wall edges, and the floor beneath future furniture without shifting heavy belongings. Cleaning before unpacking also prevents you from placing dishes, linens, and clothing onto shelves that still hold dust or residue.

    Even a recently renovated or newly built home can contain fine construction dust. A previously occupied home may look presentable while still having grease around kitchen handles, buildup in bathroom edges, debris inside drawers, or dust on vents and ceiling fans. Completing the work before the moving truck arrives creates a cleaner starting point and reduces the number of chores competing for your attention during the first week.

    Before You Start: Inspect, Plan, and Gather Supplies

    Walk through the home before bringing in cleaning equipment. Photograph damage or maintenance concerns, especially if the property is a rental. Look for active leaks, damaged flooring, loose outlets, pest evidence, mold-like growth, or other issues that should be handled by the appropriate professional. Cleaning should not hide a condition that needs repair.

    Confirm that electricity and water are available. Open blinds for better visibility and provide ventilation when product labels recommend it. Read the care instructions for stone counters, wood flooring, stainless steel, specialty tile, and painted surfaces. Always test an unfamiliar product in a small, inconspicuous area, and never mix cleaning chemicals.

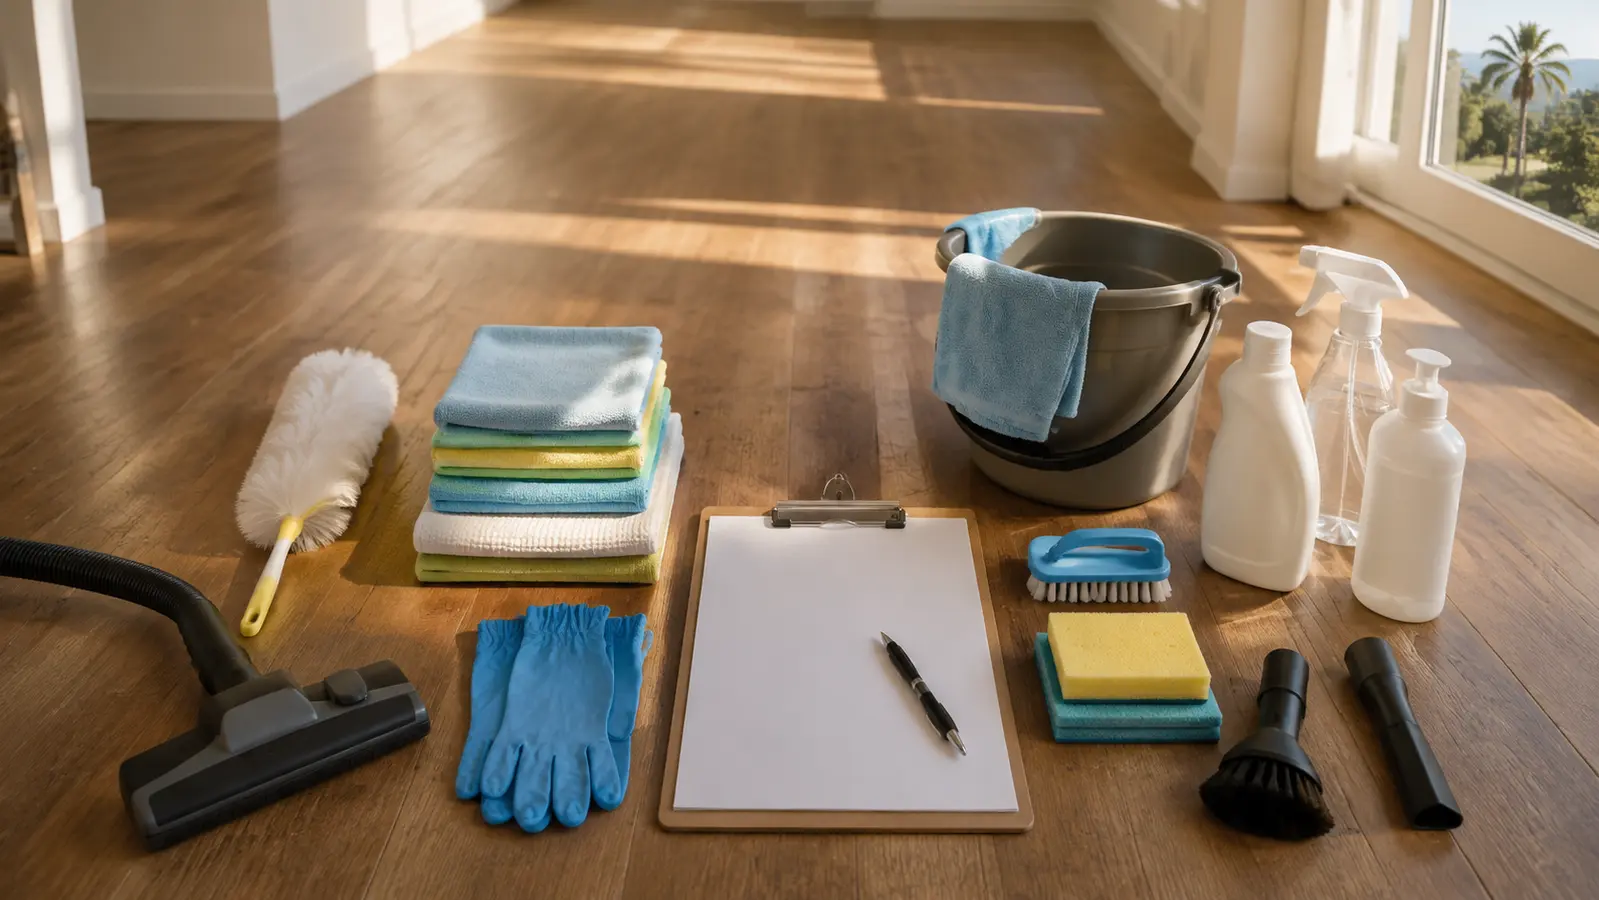
    Basic move-in cleaning supplies

    • Microfiber cloths in separate colors for kitchens, bathrooms, and general surfaces
    • A vacuum with crevice and brush attachments
    • A broom, dustpan, and floor-appropriate mop
    • Non-scratch sponges and a small detail brush
    • Gloves, trash bags, a bucket, and paper towels
    • Glass cleaner and surface-specific cleaning products
    • A step stool used according to its safety instructions
    Move-in cleaning supplies arranged on the floor of an empty home
    Gather surface-safe products and basic tools before starting your move-in cleaning checklist.

    The Best Order for Cleaning a New House

    Work from high to low and from dry tasks to wet tasks. Dusting ceiling fans after mopping only sends debris back onto a finished floor. Likewise, cleaning floors before contractors or movers finish walking through the property usually means doing the job twice.

    1. Remove trash and leftover materials. Clear packing scraps, shelf liner, abandoned items, and obvious debris.
    2. Dry dust from the top down. Start with ceiling corners, fixtures, fan blades, vents, shelves, door frames, and baseboards.
    3. Clean storage areas. Wipe closets, cabinets, drawers, and pantry shelves before belongings go inside.
    4. Deep clean kitchens and bathrooms. Give cleaning products the dwell time stated on their labels rather than wiping immediately.
    5. Clean glass and detail high-touch areas. Include mirrors, interior window glass where accessible, switches, handles, and knobs.
    6. Vacuum and mop last. Begin at the farthest point and work toward the exit so you do not walk across finished floors.

    Room-by-Room Cleaning a New House Checklist

    Kitchen

    Complete the kitchen before unpacking food, cookware, and dishes. Remove crumbs and dust from cabinet corners with a vacuum attachment, then wipe the interiors and allow them to dry. Clean cabinet fronts, pulls, pantry shelves, countertops, backsplash, sink, faucet, and the exterior of installed appliances.

    If appliances were included with the home, inspect the refrigerator shelves and seals, oven, stovetop, range hood, microwave, and dishwasher filter. Follow each manufacturer’s instructions. Avoid assuming one all-purpose product is safe for natural stone, unfinished wood, or specialty finishes. Finish by cleaning the floor after the upper surfaces are complete.

    Bathrooms

    Bathrooms are often the first rooms needed on moving day, so make at least one bathroom fully usable early. Dust the exhaust grille and light fixtures, wipe cabinet interiors, and clean mirrors. Then address the vanity, sink, faucet, tub, shower walls, tracks, fixtures, toilet, baseboards, and floor.

    Pay attention to corners, the area behind the toilet, cabinet handles, and buildup around fixtures. Use products designed for the surface and follow label directions for ventilation, contact time, and rinsing. Replace worn toilet seats or shower liners if that is part of your move-in plan, but leave plumbing repairs to a qualified professional.

    Bedrooms and closets

    Dust ceiling fans, vents, window sills, blinds, closet shelving, rods, door frames, and baseboards. Vacuum closet corners before placing shoes or storage bins inside. Clean hard floors with the appropriate method, or vacuum carpet slowly in overlapping passes. If carpet needs specialized treatment, arrange it before beds and dressers arrive.

    Living areas, hallways, and stairs

    Work around the room from top to bottom. Dust fixtures, fan blades, vents, ledges, doors, trim, and baseboards. Wipe high-touch areas such as switches, railings, handles, and thermostat covers without saturating electrical components. Clean interior glass and accessible tracks, then finish floors after all other work is complete.

    Laundry room and utility areas

    Wipe shelves, cabinet interiors, appliance exteriors, and the area around hookups. Check that the dryer vent connection appears intact before use and arrange professional service if anything looks damaged or obstructed. Clean the utility sink, remove lint and dust, and mop the floor. Do not move heavy appliances without the right equipment and assistance.

    Entry, garage, patio, and overlooked details

    Clean the inside of the entry door, handles, thresholds, and nearby glass. Sweep the garage and remove loose debris, but avoid disturbing unknown powders, chemicals, pest material, or construction waste. Wipe accessible patio-door tracks and make sure entrances are clear for movers.

    Before calling the checklist complete, look at the tops of doors, closet corners, return-air grilles, cabinet toe kicks, the space beside appliances, and the edges where floors meet baseboards. These are common places for dust to remain in an otherwise clean-looking home.

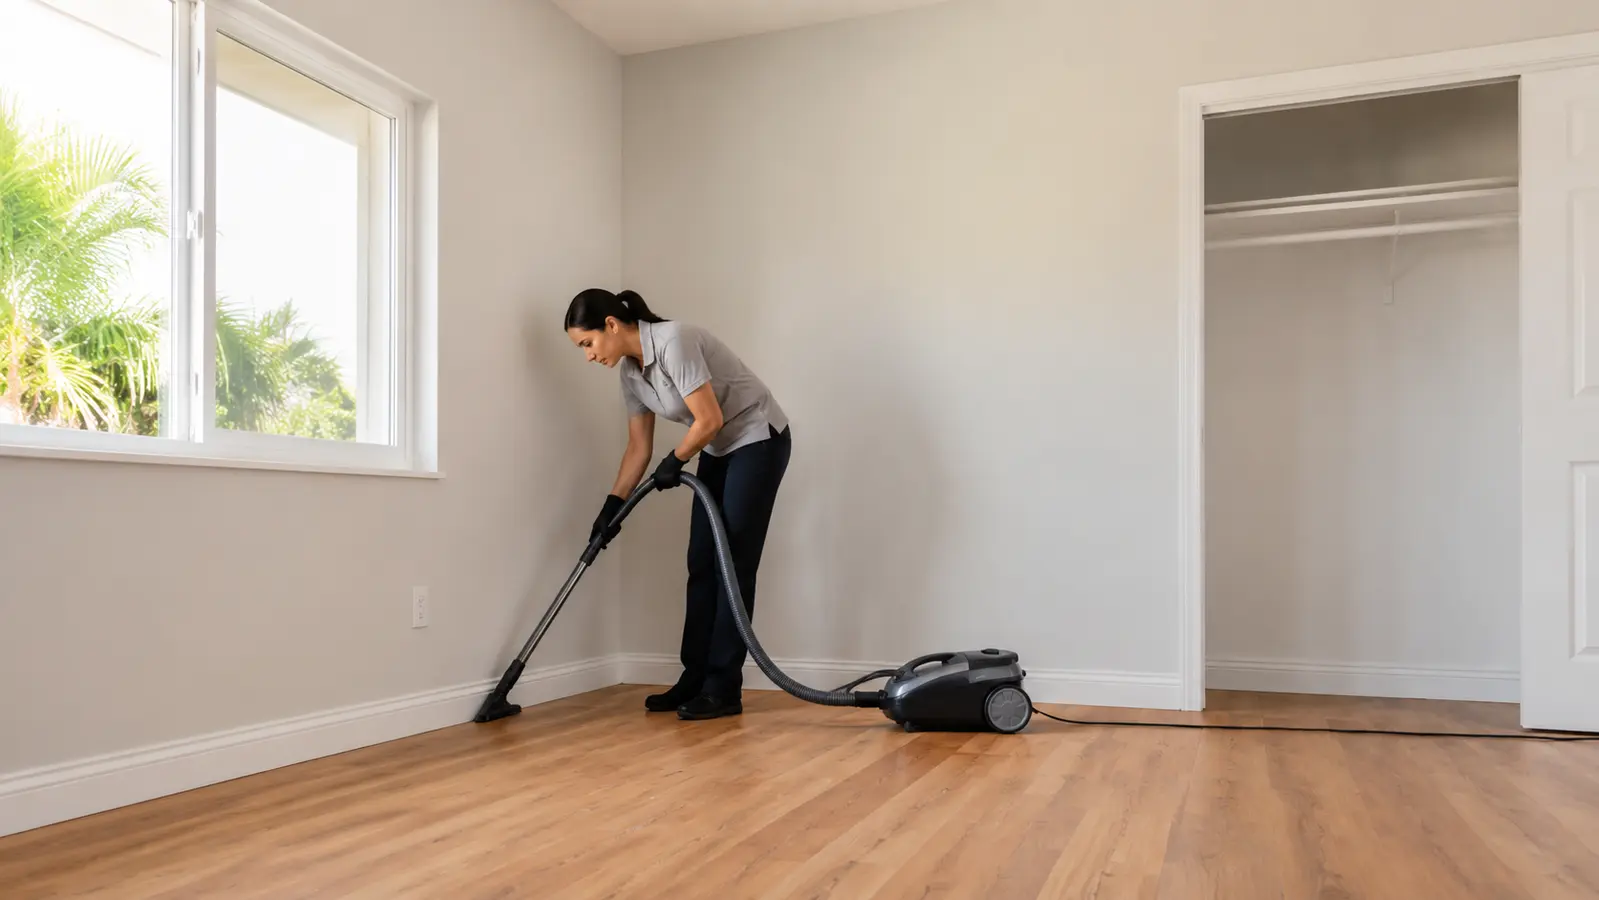
    Professional cleaner vacuuming baseboards in an empty room before move-in
    An empty home makes baseboards, corners, and floor edges easier to clean thoroughly.

    What to Clean Again After the Movers Leave

    A strong pre-move clean does most of the work, but moving traffic can bring in dirt and cardboard dust. After the last delivery, remove packing debris, wipe newly handled switches and door handles, vacuum traffic paths, and spot-mop hard floors. Clean the counters used for drinks or takeout and make one bathroom fresh again.

    This second pass should be quick because cabinets, appliances, bathrooms, and hard-to-reach areas were already detailed. Keep a small cleaning kit separate from the moving truck so it is easy to find.

    DIY or Professional Move-In Cleaning?

    DIY cleaning can work well when the home is small, already in good condition, and you have access several days before the move. Divide the property into zones, estimate the time honestly, and finish one room before starting another. If friends or family help, assign specific rooms to avoid duplicated effort.

    Professional help may make more sense when the timeline is tight, the home is large, buildup is significant, or your attention is already split among closing, utilities, packing, children, pets, and movers. A cleaning team can focus on the property while you handle the logistics only you can manage. Review the scope in advance so expectations are clear. For more detail, see what may be covered by a deep cleaning service and learn how to prepare for house cleaners.

    Final Walkthrough Before You Unpack

    • Cabinets, drawers, closets, and pantry shelves are clean and dry.
    • The kitchen and at least one bathroom are ready to use.
    • Ceiling fans, vents, trim, baseboards, and high-touch areas have been addressed.
    • Floors are vacuumed or mopped with the correct method.
    • No cleaning products, damp cloths, or trash were left behind.
    • Maintenance concerns discovered during cleaning were documented.
    • Cleaning supplies needed after moving are easy to locate.

    Frequently Asked Questions

    How long does it take to clean a new house before moving in?

    The time depends on the home’s size, condition, number of bathrooms, appliances, flooring, and whether cabinets and closets need interior cleaning. An empty home is easier to access, but detailed kitchen and bathroom work can still take several hours. Inspect first and avoid building your plan around an unrealistically short window.

    Should you clean before or after moving furniture in?

    Complete the detailed cleaning before furniture arrives whenever possible. Then do a shorter floor and high-touch-surface pass after the movers finish. This combination provides access to hidden areas without expecting floors to remain untouched during the move.

    What should be cleaned first in a new house?

    After removing debris, start with high dry-dusting tasks and storage interiors. Clean kitchens and bathrooms next, then glass and high-touch areas. Vacuum and mop floors last.

    Do you need a deep clean if the home looks clean?

    Not every property needs the same scope. Inspect cabinet interiors, appliances, bathroom edges, vents, baseboards, closets, and floors. A targeted clean may be enough when those areas are already in good condition; more detailed work is useful when dust, residue, or buildup remains.

    Start Your Orange County Move With a Cleaner Home

    A thoughtful cleaning a new house checklist gives you a simple advantage: you can unpack into rooms that already feel comfortable and ready for your belongings. If you would rather spend your pre-move time coordinating the move, SRS Cleaning provides professional move-in cleaning for homeowners across Orange County service areas.

    Request a house cleaning quote or call (714) 439-8500 to discuss your home, timeline, and cleaning priorities.

  • Rental Turnover Cleaning Guide for Property Managers

    Rental Turnover Cleaning Guide for Property Managers

    A vacant rental can look simple from the doorway, then reveal a full day of work once the lights are on. Grease inside cabinets, dust along baseboards, soap buildup in showers, and forgotten items in drawers can quickly delay the next showing. This rental turnover cleaning guide helps property managers and landlords create a repeatable process that protects the property, supports faster leasing, and gives incoming residents a clean start.

    The goal is not just to make a home look presentable for photos. A thorough turnover clean helps reveal maintenance issues, reduces complaints at move-in, and signals that the property is professionally cared for. For busy Orange County property managers, that consistency can make a demanding turnover schedule much easier to manage.

    Start With a Walk-Through Before Cleaning

    Cleaning goes faster when no one is guessing what needs attention. Before bringing in supplies or a cleaning crew, walk the property room by room and document its condition. Compare the home against the move-out inspection and note anything outside the scope of normal cleaning, such as wall damage, broken blinds, excessive debris, pest concerns, or appliances that need repair.

    Take photos before work begins. They provide a clear record for owner communication, security deposit decisions, and vendor coordination. They also help separate cleaning from repairs. A cleaner can remove dust from a ceiling fan, for example, but a loose or damaged fan should be handled by a qualified maintenance professional.

    At this stage, remove any personal items or abandoned belongings according to your company policy and applicable California requirements. Cleaning around leftover boxes, furniture, or trash wastes time and makes it harder to judge the property’s true condition.

    Use a Rental Turnover Cleaning Guide by Room

    A dedicated apartment turnover cleaning checklist can coordinate vendor sequencing, room-by-room quality control, and final unit-readiness sign-off. For deeper cleaning detail, a room-by-room checklist keeps quality consistent, especially when multiple people are involved. It also prevents common misses that new tenants notice immediately, such as crumbs in drawers or hair around the base of a toilet.

    Kitchen: Focus on Food Surfaces and Appliances

    Kitchens usually take the most time because grease and food residue collect in places that are easy to overlook. Empty cabinets and drawers, then wipe their interiors, fronts, handles, and edges. Clean countertops, backsplashes, sinks, faucets, and light switches. Pay close attention to the area behind and beneath small appliances if they remain in the unit.

    Appliances need more than a quick wipe-down. Clean the microwave inside and out, including the turntable. Remove crumbs and residue from the oven, stovetop, range hood, and drip pans where applicable. The refrigerator should be emptied, wiped inside, and checked for spills in drawers and door seals. If an appliance has heavy grease, burned-on residue, or a persistent odor, plan for extra time rather than rushing the result.

    A clean kitchen is a strong first impression. It also helps incoming tenants feel comfortable using the space from day one.

    Bathrooms: Reset the Most Scrutinized Room

    Bathrooms can make a clean property feel neglected if soap scum, mineral buildup, mildew, or stray hair remains behind. Clean and disinfect the toilet, shower, tub, vanity, sink, mirror, fixtures, and surrounding floors. Wipe cabinet interiors and drawers, not just visible surfaces.

    Check grout, caulking, and shower doors as you work. Some discoloration may respond to cleaning, while cracked caulk, recurring mildew, or damaged grout may require maintenance. Treating these as separate issues avoids promising a cleaning result that the condition of the material cannot support.

    Vent covers and exhaust fans deserve attention too. Dust buildup affects appearance and may point to a ventilation issue worth investigating before a new resident moves in.

    Bedrooms and Living Areas: Clean Beyond the Open Floor

    Vacant rooms can hide a surprising amount of dust. Begin high and work down: ceiling fans, light fixtures, vents, window ledges, blinds, baseboards, doors, and floors. Wipe closet shelves, rods, and drawer interiors where provided. Open every closet and cabinet, even if it appears empty.

    For hard flooring, sweep or vacuum thoroughly before mopping. For carpet, vacuum slowly along edges and in closets. Professional carpet cleaning may be appropriate after a long tenancy, visible stains, pet odors, or heavy soil. It depends on the lease terms, the carpet’s age, and the actual condition. Shampooing every carpet between every resident is not always necessary, but skipping it when odors remain can lead to a difficult move-in conversation.

    Windows, Entryways, and Outdoor Touchpoints

    The front door and entryway set expectations before a prospect sees the rest of the property. Wipe the door, handle, lock area, mailbox, and visible light fixtures. Remove cobwebs near the entry and clear loose debris from the immediate approach.

    Inside, clean reachable window glass, tracks, sills, and blinds. Window tracks are a frequent missed detail, particularly in coastal areas where dust and moisture can collect. Full exterior window cleaning may need its own vendor and schedule, but interior glass should look clear enough for showings and move-in.

    Clean in the Right Order to Avoid Rework

    The best turnover workflow follows the natural path of dust and traffic. Start with dry work and high surfaces, then move to detailed wiping, bathrooms and kitchens, and finally the floors. If floors are cleaned too early, workers will track dust and debris back through the home.

    Save final touches for the end: polishing fixtures, replacing burned-out bulbs if that is part of your process, checking for fingerprints, and making sure bins are empty. A final walk-through should happen after all vendors have finished. There is little value in a spotless floor if a maintenance visit leaves behind drywall dust or boot marks an hour later.

    For quick turns, divide the work by zone rather than having everyone clean the same room at once. One person can focus on kitchens and baths while another handles dusting, windows, and floors. Clear responsibilities reduce duplicate work and make it easier to spot gaps before the property is released for showings.

    Know What Cleaning Cannot Fix

    A reliable turnover process protects everyone from confusion about what is clean versus what is worn, damaged, or in need of replacement. Etched glass, permanent countertop stains, chipped tile, smoke odor, water damage, and worn flooring may not be resolved by standard cleaning.

    Be clear with owners and incoming residents when a repair or replacement is needed. Trying to disguise a condition issue with fragrance or surface-level cleaning can create more complaints later. A well-maintained rental does not have to look brand new, but it should be hygienic, functional, and honestly presented.

    Build Time Into the Turnover Schedule

    A rushed schedule is where details get missed. Whenever possible, schedule cleaning after move-out, trash removal, and major repairs, but before final photography, listing appointments, and tenant move-in. If painting, flooring work, or appliance installation is planned, cleaning may need to happen in stages. A post-construction dust removal visit followed by a final detail clean is often more effective than asking one cleaning appointment to solve everything.

    Keep a record of each property’s usual turnover needs. A unit with stainless appliances, glass shower doors, blinds throughout, or pets may require more time than a similarly sized home with simpler finishes. Over time, this information helps you schedule more accurately and quote owners with fewer surprises.

    When Professional Turnover Cleaning Makes Sense

    Some turnovers are manageable in-house, particularly when a unit was lightly used and the schedule is flexible. Professional cleaning is often the better fit when a property needs to be market-ready quickly, the previous tenant left heavy buildup, or your team is already coordinating repairs, inspections, and leasing activity.

    Look for a provider that communicates clearly about scope, arrival times, and any issues found during service. For occupied or recently vacated homes, trust matters just as much as cleaning skill. Background-checked, insured professionals can give property managers confidence that the work is handled carefully and consistently.

    SRS Cleaning supports rental turnovers across Orange County with detail-focused move-in and move-out cleaning designed to reduce the pressure on landlords and property teams. A clear scope and a dependable schedule help turn an empty unit into a home that is ready for its next resident.

    A clean turnover is one of the few parts of the leasing process that residents can see and feel immediately. Give it the time, inspection, and care it deserves, and the next move-in can begin with fewer loose ends and more peace of mind.