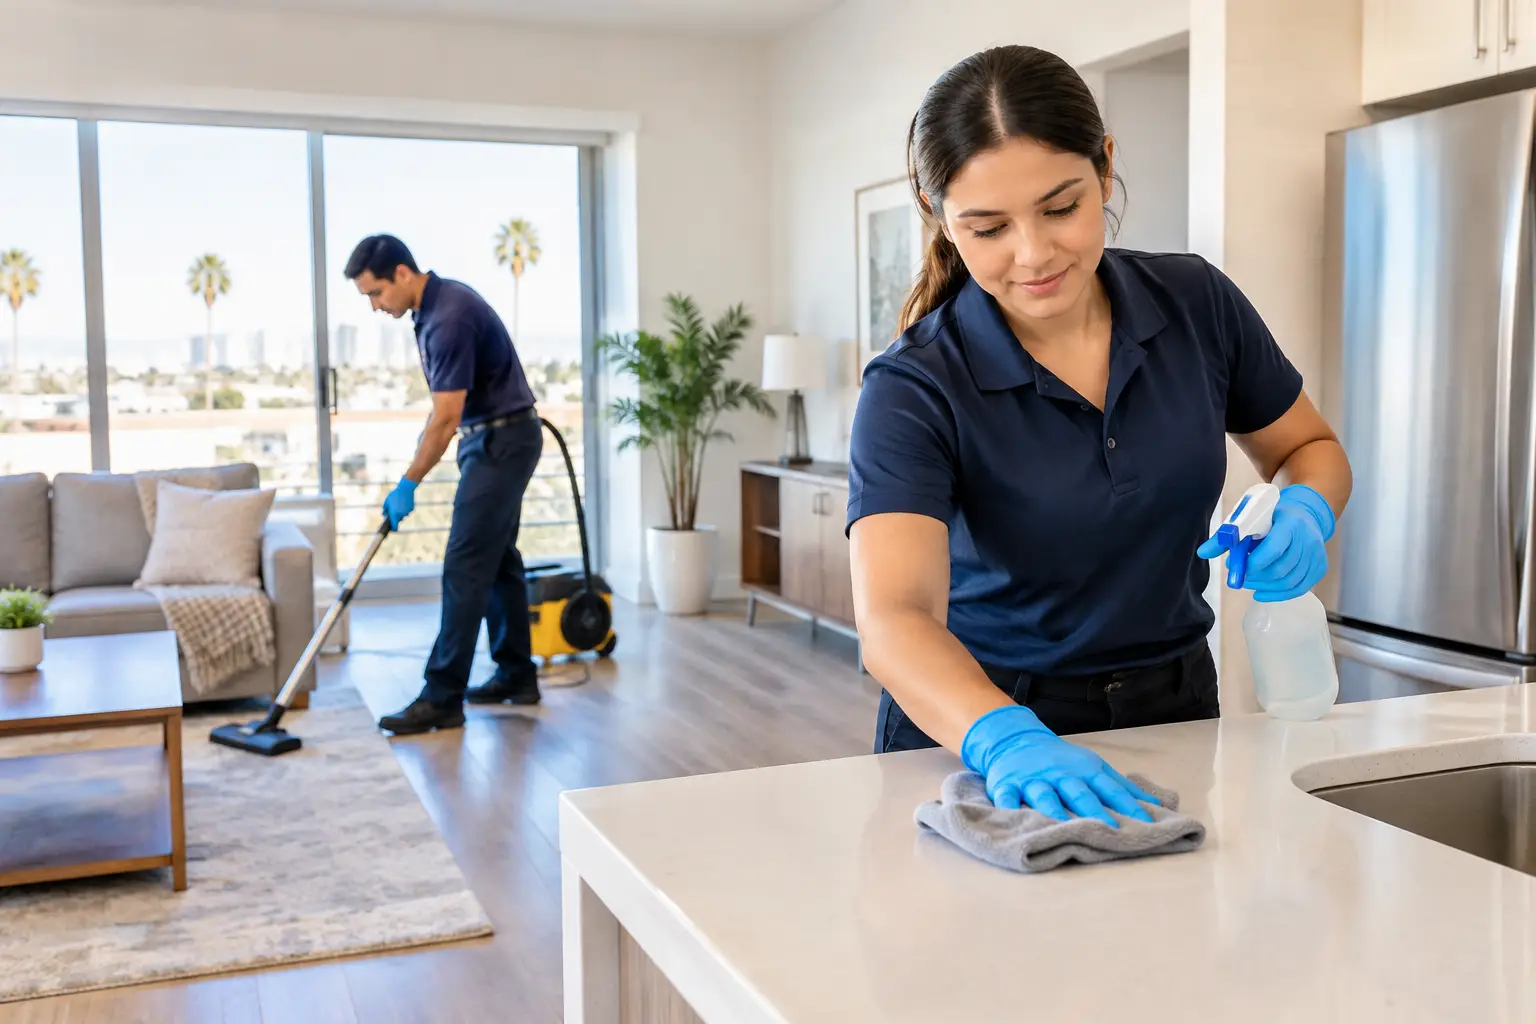
A turnover can look finished at a glance and still fail the move-in test. A sticky cabinet pull, hair in a shower corner, or dust on a ceiling fan tells the next resident that the apartment was rushed. The best apartment turnover cleaning tips are simple: inspect first, clean from high to low, focus on high-contact and high-visibility surfaces, and complete a slow final walkthrough in good light.
For property managers, the goal is not to make every vacant unit look brand-new. It is to deliver a clean, well-cared-for home with a clear scope, reliable standards, and no avoidable surprises when the next resident opens the door.
Contents
- Start with an empty-unit inspection
- Set the cleaning order before supplies come out
- Reset the kitchen and bathrooms thoroughly
- Give floors, walls, and touchpoints the right attention
- Complete a final turnover walkthrough
- Know when to bring in professional help
Start With an Empty-Unit Inspection
Cleaning before you inspect creates repeat work. Walk the apartment while it is empty, ideally with blinds open and lights on, and take notes room by room. Look at the places a new resident will notice first: entry flooring, kitchen counters, appliance interiors, bathroom fixtures, mirrors, closets, and window tracks.
Separate cleaning needs from maintenance issues. A cleaner can remove soap residue from a shower door, but a cracked tile, leaking faucet, damaged blind, or burned-out light bulb needs the right repair process. Flagging those items early keeps a cleaning crew from working around an unresolved problem and helps your team set a realistic turnover schedule.
It also helps to confirm the expected scope before work begins. Is the unit vacant after a long-term tenancy, a short-term rental reset, or a light refresh between occupants? A lightly used apartment may need detailed cleaning and touch-up attention. A unit with grease buildup, heavy dust, or neglected appliances may need a deeper reset.
Best Apartment Turnover Cleaning Tips: Work Top to Bottom
The most dependable turnover sequence follows gravity. Start with ceiling fans, vents, upper shelves, door frames, and light fixtures. Then clean cabinets, counters, appliances, walls where appropriate, fixtures, and floors last. If you mop before dusting a fan or wiping high shelves, you will likely need to clean the floor again.
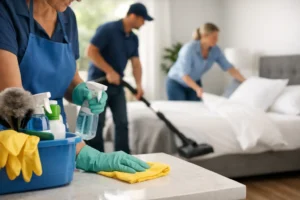
Bring supplies into the unit in an organized order rather than setting products on every available surface. Use separate cloths or tools for kitchen and bathroom areas to avoid transferring residue. Change dirty water and soiled cloths as needed. Reusing a grimy cloth can leave streaks on mirrors and spread residue across otherwise clean surfaces.
Always follow the manufacturer instructions for cleaning products and finishes. Test a small, hidden area before using a stronger product on painted walls, natural stone, specialty flooring, appliance coatings, or delicate fixtures. Never mix cleaning products. In particular, bleach should not be mixed with vinegar, ammonia, or other cleaners.
Start high and dry
Dry dusting or vacuuming first removes loose debris before moisture turns it into a smear. Pay attention to vents, fan blades, baseboards, blinds, closet shelves, and the tops of refrigerator cabinets. In Orange County apartments, open windows and nearby construction can leave a fine layer of dust even when a unit has not been occupied for long.
Let products dwell when labels allow
Soap scum and kitchen grease usually respond better to time than aggressive scrubbing. Apply an appropriate product according to its label, allow the recommended dwell time, then wipe or rinse as directed. This can reduce unnecessary abrasion on fixtures and finishes.
Reset the Kitchen Before Anything Else Feels Clean
The kitchen often determines whether a turnover feels complete. Residents open cabinets, check the refrigerator, and inspect the sink almost immediately. Start by removing crumbs and loose debris from cabinets and drawers, then wipe interior and exterior surfaces, including handles and hinges where accessible.
Clean the refrigerator from top to bottom, including shelves, drawers, door seals, and the exterior handles. Make sure no food, liners, tape, or hidden spills remain. For the oven, remove loose crumbs and clean the interior using a method approved for that appliance. Avoid harsh tools that can scratch glass cooktops, stainless steel, or coated surfaces.
Finish the kitchen by cleaning the sink, faucet, backsplash, counters, and cabinet fronts. Check under the sink for dust, drips, and forgotten items. Empty the disposal area only if it is safe and appropriate to do so, and do not put hands into a disposal.
Make Bathrooms Feel Fresh, Not Just Wiped Down
Bathrooms need detail work because residue shows quickly on glossy surfaces. Begin by removing hair and dry debris from drawers, cabinets, corners, and vents. Clean the vanity, sink, faucet, mirror, toilet exterior, tub or shower, and surrounding walls or tile according to the materials involved.
Look closely at shower tracks, grout lines, faucet bases, toilet hinges, and the area behind the toilet. These are common places for buildup to remain after a quick clean. If staining, damaged grout, or persistent mineral deposits do not respond safely to normal cleaning, document the condition rather than over-scrubbing and risking surface damage.
Before leaving, run water briefly where appropriate to check for visible residue around drains and faucets. Wipe the final water spots from fixtures and mirrors. A clean bathroom should feel dry, bright, and ready to use, not heavily scented or coated with product residue.
Give Floors, Walls, and Touchpoints the Right Attention
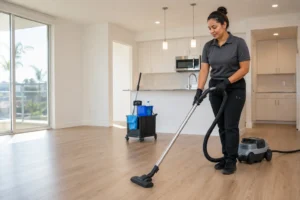
Floors should be the last major cleaning task in each room. Vacuum edges, closets, under accessible appliances, and along baseboards before mopping hard surfaces. Use a flooring-safe product and avoid oversaturating laminate, wood, or other moisture-sensitive materials. Carpeted units may need more than vacuuming if there are traffic patterns, spots, or odors that regular cleaning cannot resolve.
For walls, use the least aggressive method that addresses the mark. A soft cloth and mild cleaner may be enough for fingerprints near switches and doors. Stronger scrubbing can remove paint sheen or leave a visibly different patch, especially on flat paint. When a mark will not come out without damaging the finish, it is usually better to identify it for touch-up than force the issue.
Do not overlook touchpoints. Clean door handles, light switches, thermostat covers, cabinet pulls, mailbox keys if provided, and closet rods. These small details have an outsized effect because they are handled right away.
Complete a Final Turnover Walkthrough
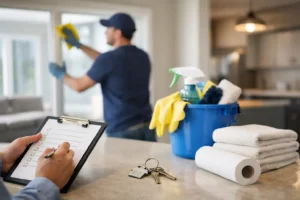
A final walkthrough is where good cleaning becomes dependable turnover cleaning. Walk the apartment as if you are seeing it for the first time. Stand at the entry, then move through each room in the same direction. Check from eye level, then lower your view to notice corners, baseboards, and floor edges.
Use this final check:
- Lights are on where available, and obvious dust or cobwebs are gone.
- Cabinets, drawers, closets, and appliances are empty and wiped clean.
- Kitchen and bathroom fixtures are free of visible residue and water spots.
- Floors are vacuumed or mopped, including edges and closets.
- Trash, cleaning materials, and temporary supplies have been removed.
- Any maintenance concerns are documented for the next step.
If possible, schedule the walkthrough after cleaning tools have been removed. A unit can look unfinished simply because a vacuum, trash bag, or bottle of cleaner is still sitting in the room.
Know When Professional Turnover Cleaning Makes Sense
Your team may be able to handle a light turnover when the apartment is already in good condition and there is time for a careful inspection. Professional apartment turnover cleaning can be a better fit when multiple units are turning at once, the kitchen or bathrooms need detailed work, carpeting needs attention, or your staff needs to focus on leasing, repairs, and resident communication.
At SRS Cleaning Services, we believe a cleaner space supports a lighter week. For Orange County property managers, that means confirming the cleaning scope before the appointment and helping create a unit that feels cared for from the first walk-in. If you need help with an upcoming turnover, request a quote and share the unit condition, timing, and areas that need the most attention.