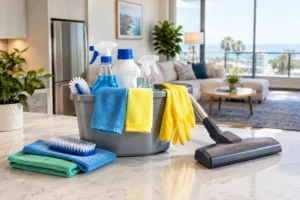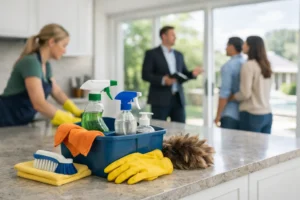
A listing photo can make a clean home feel spacious and calm, while a few missed details can pull attention away from its best features. The best cleaning tasks before photos are the ones that remove visible distractions first: dust, fingerprints, clutter, dull floors, and bathroom or kitchen residue. You do not need to detail every hidden cabinet, but every surface the camera can see should look intentional.
For sellers and realtors, the goal is not to make a lived-in home look unrealistic. It is to help buyers notice the light, layout, finishes, and storage potential instead of a smudged mirror or a crowded counter. Start with the rooms that carry the listing, then work outward if time allows.
Contents
- What matters most in listing photos
- The best cleaning tasks before photos
- Room-by-room priorities
- What to skip when time is short
- When professional cleaning makes sense
What matters most in listing photos
Cameras tend to emphasize contrast. A little dust on a dark shelf, water spotting on a chrome faucet, or streaks on a sunny window may be less noticeable in person but stand out in photos. Wide-angle shots also capture more of a room than you expect, including floor edges, corners, baseboards, and reflections.
Before cleaning, walk through the home with your phone camera. Take a few test photos from doorways and at room level. This quickly reveals what will be visible: cords beneath a console table, pet hair near a sofa, streaks on glass doors, or an overfilled open shelf. It also helps you decide what is cleaning, what is decluttering, and what should simply be moved out of frame.
Natural light is a benefit, but it makes clean windows and dust-free surfaces more important. In Orange County homes with bright patios, large sliders, or sun-filled kitchens, glass and reflective finishes deserve extra attention before the photographer arrives.
Best cleaning tasks before photos: Start with these 9
1. Clear and wipe the main surfaces
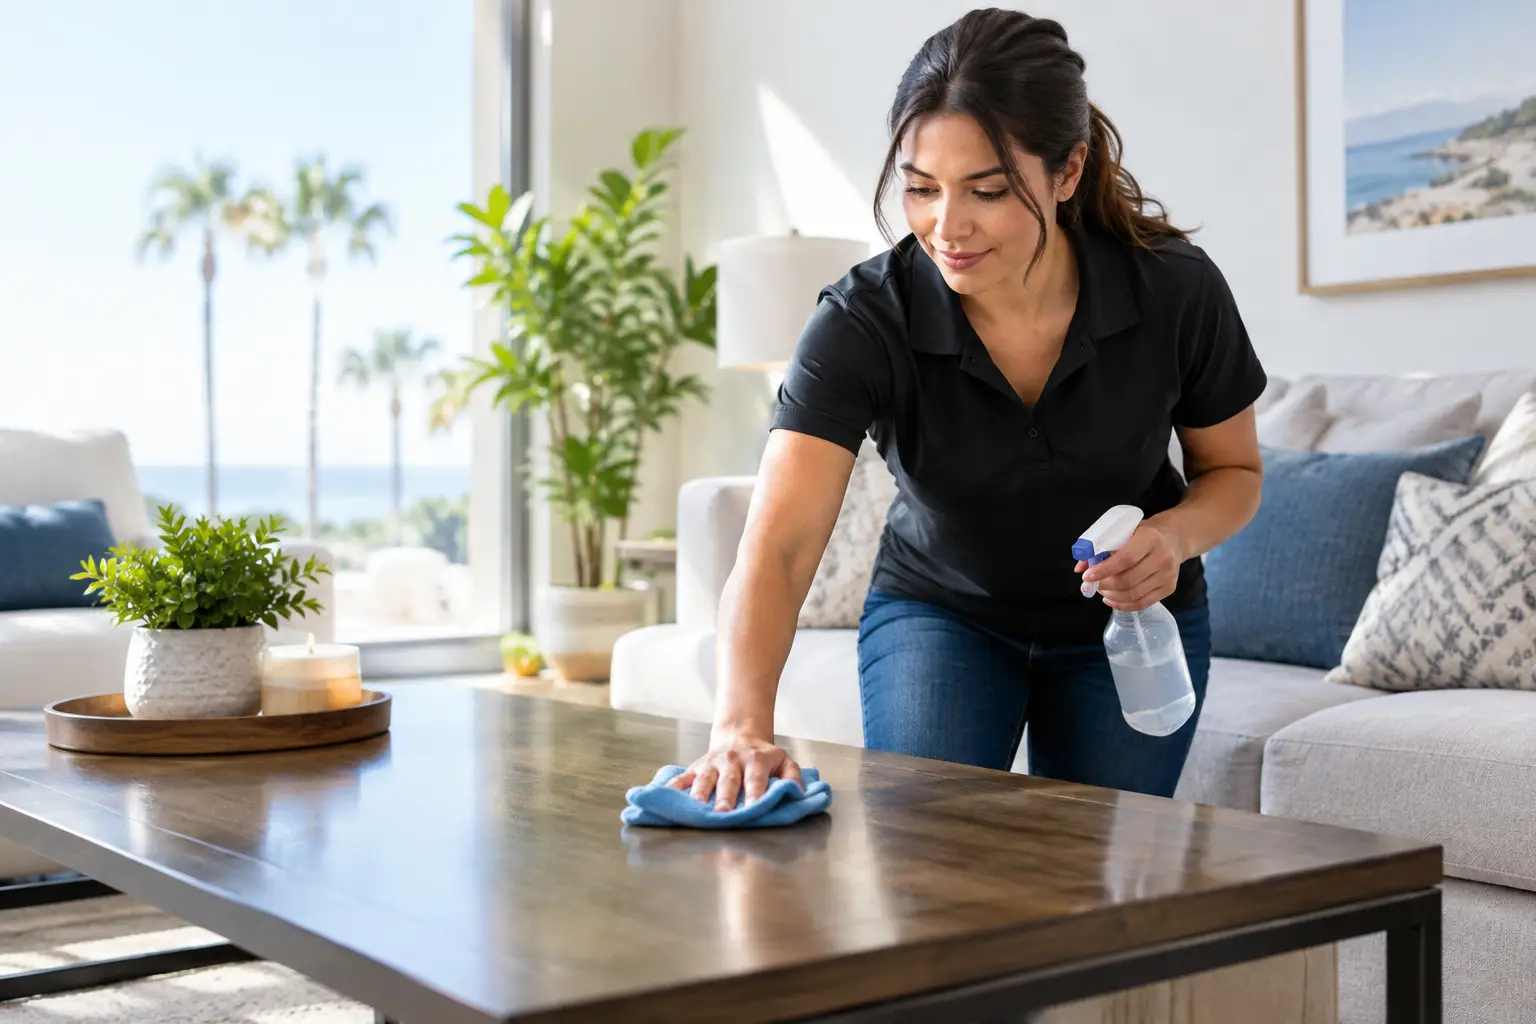
Counters, coffee tables, dining tables, nightstands, desks, and bathroom vanities should be mostly clear. Put away daily items such as mail, chargers, remote controls, toiletries, cleaning bottles, and pet supplies. Then wipe the exposed surface with a product suited to its material.
Do not use one cleaner on every surface. Natural stone, unsealed wood, and specialty finishes can be damaged by the wrong product. Follow the manufacturer’s instructions and test an inconspicuous area if you are unsure.
2. Remove visible dust from high-contrast areas
Dust the places a camera catches easily: ceiling fan blades, light fixtures, blinds, shelves, TV stands, picture frames, window sills, and baseboards. Focus on dark furniture, white trim, and open shelving, where a light layer of dust can show up clearly.
A microfiber cloth is usually the simplest choice for dry dusting. For delicate fixtures or textured décor, use a gentle touch rather than spraying cleaner directly onto electrical components or hard-to-reach surfaces.
3. Clean glass, mirrors, and reflective finishes
Smudges make a room look neglected faster than almost anything else. Polish bathroom mirrors, entry mirrors, glass tabletops, interior glass doors, and appliance fronts. Clean the inside of windows where fingerprints, dust, or pet nose marks are visible.
Use a clean, lint-free cloth and avoid overapplying product, which can leave streaks. Exterior window cleaning may be worth arranging when the view is a major selling feature, but it depends on access, weather, and the condition of the glass.
4. Refresh the kitchen sink and appliance fronts
The kitchen often receives several photos because it helps buyers picture daily life in the home. Empty the sink, rinse away residue, and dry it thoroughly. Wipe the faucet, handles, backsplash, cabinet fronts, stovetop, refrigerator, dishwasher, and microwave exterior.
Remove magnets, takeout menus, dish racks, sponges, and countertop appliances unless they are part of a deliberately styled setup. Check stainless steel carefully from more than one angle. Fingerprints can reappear as soon as sunlight shifts.
5. Make bathrooms look dry and simple
Bathrooms need a clean, hotel-like finish, not a counter full of products. Clean the toilet exterior, sink, faucet, vanity, mirror, shower glass, tub, and visible tile. Replace used hand towels with fresh, simple ones, and close the toilet lid for photos.
Put away toothbrushes, razors, medication, bath toys, and personal care products. If shower doors have heavy mineral buildup or tile grout has deep discoloration, routine wipe-downs may not be enough. A deeper cleaning can improve the overall appearance, although permanent wear or staining may still show.
6. Vacuum floors and address obvious spots
Floors create a large visual field in wide shots. Vacuum carpets, rugs, upholstered furniture, and along baseboards. Sweep or vacuum hard floors first, then mop with a product that is appropriate for the flooring material.
Avoid soaking wood or laminate flooring. A lightly damp mop is often safer, and the floor should be fully dry before photos. For carpet, treat fresh spots according to the carpet manufacturer’s guidance. Older stains, traffic lanes, or pet-related odors may call for professional carpet cleaning rather than repeated DIY treatments that leave residue behind.
7. Tidy entryways and living areas
The front door, porch, entry, and main living space set the tone for the listing. Remove shoes, bags, jackets, pet beds, excess pillows, and bulky storage bins. Wipe the front door, clean the entry glass if present, and sweep the immediate exterior walkway.
Inside, straighten cushions, fold throws neatly, and make sure lampshades and side tables are free of dust. This is also the time to hide cords where practical. Do not create a tripping hazard or force cords behind furniture in a way that could damage them.
8. Reset bedrooms for calm, not perfection
Make beds with clean, smooth bedding and remove laundry, personal items, and anything stored under the bed that may show in a low-angle photo. Clear nightstands down to one or two simple items. Wipe dresser tops, mirrors, and visible window sills.
Children’s rooms and home offices can still look lived in, but they benefit from fewer visual distractions. A basket for loose toys or supplies can help temporarily, as long as it does not become another crowded object in the frame.
9. Finish with a photo-day walkthrough
Right before the photographer arrives, turn on interior lights, open blinds or curtains as directed, and take trash out. Check for fresh fingerprints on refrigerator doors, mirrors, and glass. Empty bins in bathrooms and the kitchen, and do a quick scan for pet hair.
Save strong fragrances for another day. Heavy sprays, scented candles, or plug-ins can feel distracting to visitors and may bother people who are sensitive to fragrance. Fresh air and a clean, neutral-smelling home are usually enough.
Room-by-room priorities when time is limited
If you only have a few hours, focus first on the entry, living room, kitchen, primary bedroom, and primary bathroom. These spaces most often communicate condition, comfort, and usable square footage. Secondary bedrooms, laundry rooms, garages, and closets still matter, but they can come after the rooms most likely to be photographed.
For a condo, townhouse, or smaller home, the same rule applies: prioritize what connects visually. If the kitchen opens into the living room, both areas need to look equally clean because they will likely appear together in the same shot.
What not to spend time cleaning before photos
Avoid losing the day to tasks that will not be seen. The inside of the oven, the back of a packed closet, and deeply organizing every drawer can wait unless the photographer or agent specifically plans to capture those areas. Do not start a major repair project at the last minute, either. A rushed patch, paint touch-up, or furniture move can create a new problem right before photos.
Instead, invest that time in visible finishes: floors, glass, counters, fixtures, and clutter control. A calm, clean room photographs better than a room that is half-cleaned and filled with supplies.
When professional cleaning is the practical choice
A photo-ready clean can be manageable if your home is already in good condition and you have time to work through the visible areas. Professional help is especially useful when you are preparing a vacant property, coordinating movers, handling a rental turnover, catching up after a busy season, or facing buildup on kitchens, bathrooms, or carpets.
At SRS Cleaning Services, we can help you define a cleaning scope before the appointment so attention goes where the listing needs it most. A one-time deep cleaning may be appropriate before photography, while carpet cleaning can be considered when traffic lanes or noticeable spots affect the look of a room.
Give yourself a buffer between cleaning and the photo appointment. That leaves time to declutter, let floors dry, replace towels, and handle the small styling decisions that make the home feel ready. If you would rather hand off the cleaning portion, request a quote and share your photo timeline and priority rooms with us.